There are so many things you stand to gain by going on a hike through the great outdoors. The stunning views, the peaceful serenity, and the lovely fresh air.
But no matter how amazing immersing yourself in nature can be, there are some serious risks that you need to keep in mind and protect yourself from.
Luckily for you, there are several ways that you can significantly reduce the chances of an emergency and also increase your chances of handling any problems you face effectively.
The better prepared you are, the more likely it is that your hike will be satisfying.
We have curated these hiking safety tips to help ensure that you are well prepared for the hike ahead. Ensure that you follow each of them and have a great time hiking.
This post may contain affiliate links. If you make a purchase, I may earn a small commission at no additional cost to you. For more information, view my privacy policy.
Table of Contents
Hiking Safety Tips
When visiting our national parks and public lands, please practice Leave No Trace principles. Plan ahead, choose durable surfaces for camping or hiking, dispose of all waste properly, leave everything you find, minimize campfire impacts, respect wildlife, and be considerate of other park visitors.

1. Find Out About the Hike and Route
Before you hike in an area that you’re not familiar with, it is important that you find out about the route’s distance, elevation gain, and terrain.
You should find out how long you need to walk in a direction before you find water or a road. You should also honestly ask yourself whether you are fit enough to hike through that particular trail.
On the day of your hike, you can take some time to visit the park ranger or headquarters and get some information about wildlife, trail closures, fire alerts, the weather, and stream crossings.
Picking up a topographic map of the route could also be very helpful as it provides you with a complete overview of the trail’s terrain. Depending solely on technology could lead you into a pitfall.
2. Create an Itinerary and Share it With a Person That Isn’t Hiking
You should create an itinerary along with all the members of your hiking party. This itinerary should include information about the route, your starting point and time, the destination, as well as the time you expect to finish hiking.

This tip would require that you are not overly ambitious about your hike. After creating a trip plan including the map of your planned route, the clothes you will be wearing, a list of people going with you, as well as the expected return date and time, you should leave a copy of the itinerary with at least one person that won’t be hiking with you or at the park office.
If you do not return on time, then someone will be able to utilize this information in forming a search party if it is needed.
3. Be Adequately Prepared for the Weather
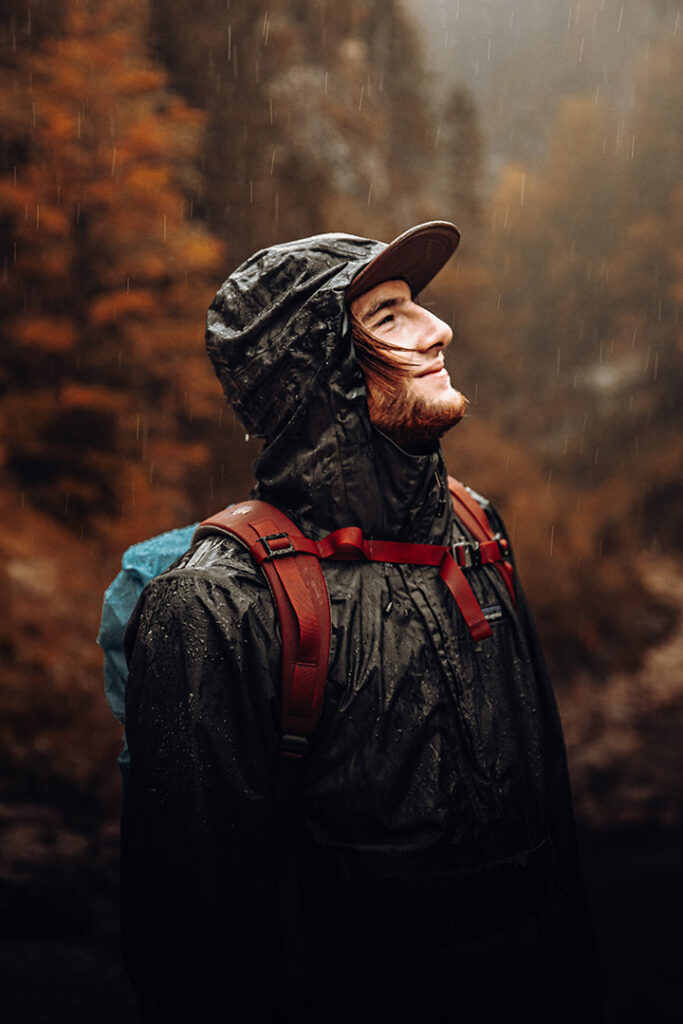
This involves more than just checking the weather forecast before your hike.
You can also walk up to the park site and talk to the rangers to find out about the common weather events in that area during that time of the year as well as how you can stay safe in them.
Note that weather conditions can change in an instant so even a positive weather forecast is not enough to go by. This is why you must prepare for common dangers like thunder, lightning, and even thunderstorms.
If you hear the sound of thunder during your hike, then you should immediately head back to the starting point or into the closest shelter you can find.
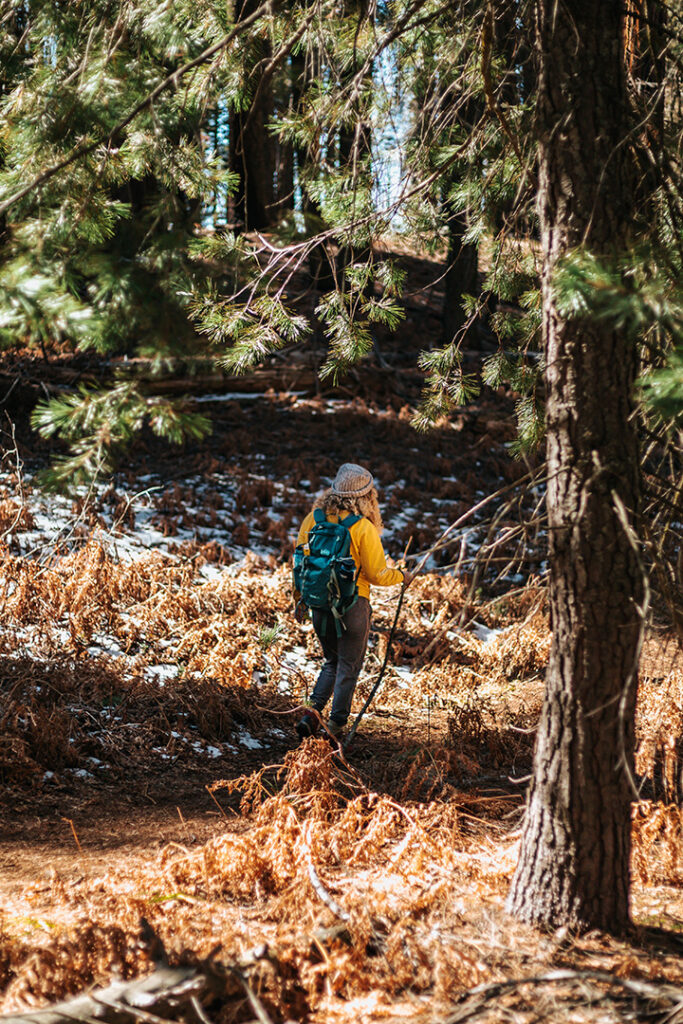
If you can’t do either of these on time, then you should head for low ground (but do not lie down!) and steer clear of any tall objects like trees.
4. Pack the 10 Essentials

This is a list of necessary provisions that every hiker needs so that they are well prepared for any outcomes during the hike.
This list includes an emergency shelter like a blanket or tent, some nutrition or snacks, water or a water filter, a flashlight or lantern for illumination, a navigation device like a map or GPS, some matches or a lighter to start a fire, a first aid kit, a raincoat or jacket to provide insulation, as well as a repair kit containing a multi-functional tool and duct tape. Other items you may want include:
- Hiking boots: Shoes that are good for hiking and have ankle support.
- Sunscreen: The UV rays in national parks can be intense, even on cloudy days.
- Bug spray: There are a lot of bugs in the park, especially near water sources.
- Yaktrax: Helpful for snowy conditions.
- Rain gear: The weather can change quickly, no matter the time of year or location. Bring a raincoat and/or umbrella just in case!
- Layers: Temperatures can fluctuate a lot, so it’s best to dress in layers.
- Snacks: There are limited food options inside the park, so bring your own snacks!
- Camera: You’ll want to capture the beauty of your national park in photos!
- Water bottle: Stay hydrated while hiking around the park!
- Hat: You’ll need protection from the sun and bugs.
- Binoculars: Bring binoculars if you want to view wildlife in the park.
- First-aid kit: You never know if you might get a cut or scrape while hiking.
- Flashlight: This is helpful for late-night hikes and stargazing!
- Map: Bring a physical map for navigating the park.
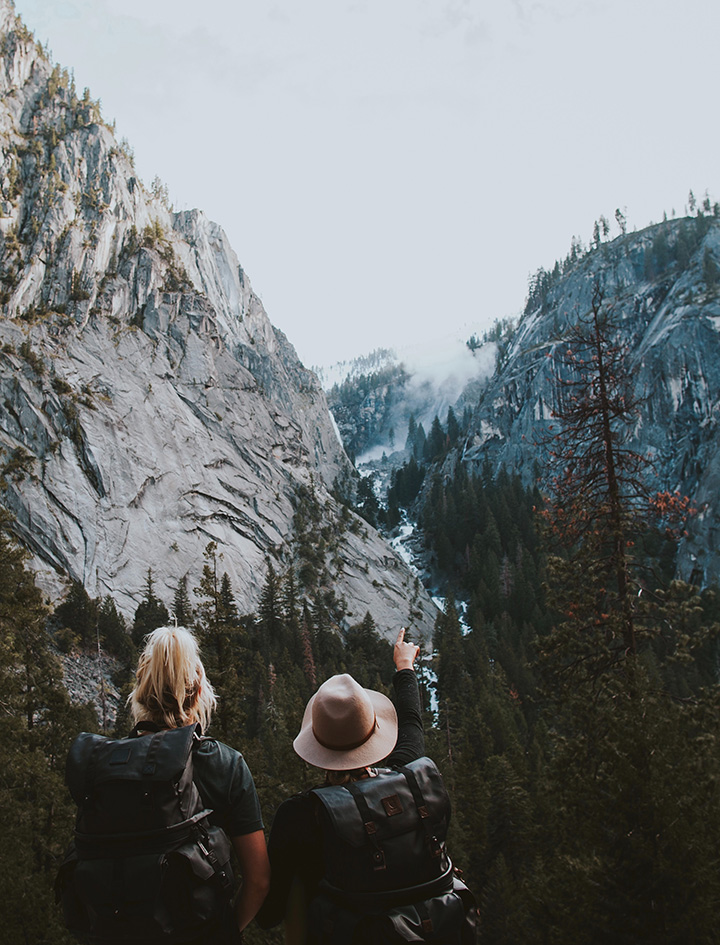
This list is adaptable, so you can add a few more provisions that you believe are necessary.
5. Personalize Your First Aid Kit
The most common hiking injuries include bug bites, ankle rolls, and scrapes, all of which can be easily treated using a regular first aid kit.
You can get one at a drugstore or even buy one online. Just ensure that this first aid kit comes with items like antiseptic, elastic wrap bandages, and adhesives.
You can then customize your first aid kit depending on your health and any potential issues you feel you might face.
Pack your first aid kit with the medications you take regularly or in an emergency like a Ventolin inhaler or insulin.
6. Buy Good Hiking Shoes and Socks

One of the most important hiking safety tips that we can give to you is to get proper-fitting footwear that has a good grip and cushioning. This will help to ensure you have good support as you trek through the trail.
You can also avoid blisters on your feet by properly lacing your boots and ensuring they are comfortable. This is why you must ensure that you try on your gear before the day of your hike.
If you’re not sure of the exact shoes to buy, you can consult an expert at an outdoor supplies store.
Also, you should get some good hiking socks made from synthetics or wool to ease friction and wick away the moisture from your feet.
Stay away from cotton socks as these will keep the moisture on your feet and cause you to blister easily.
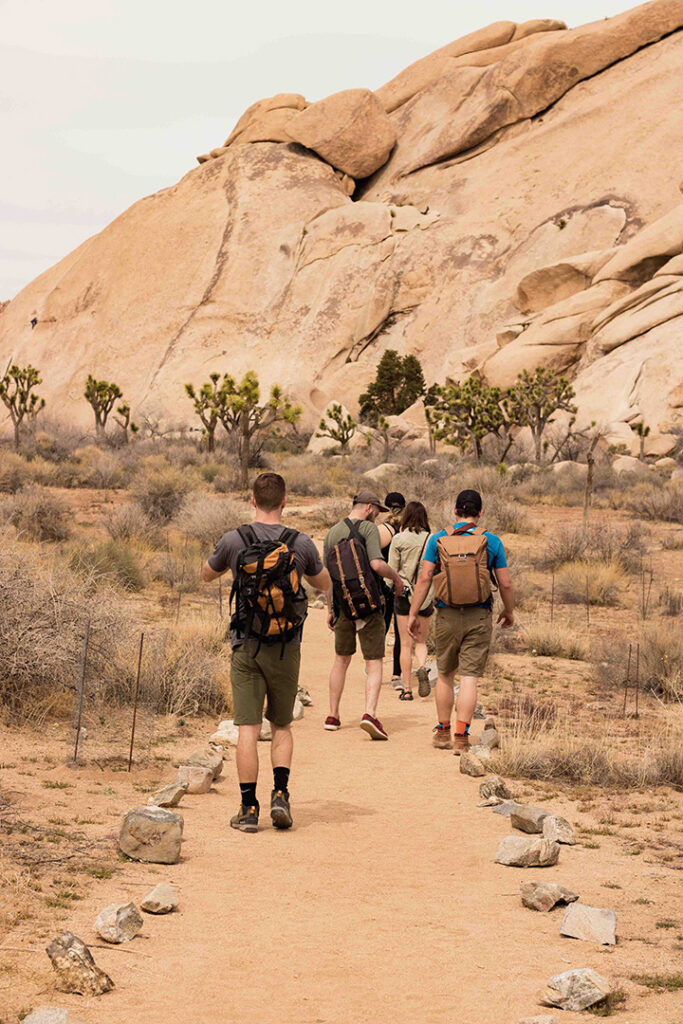
During the hike, you should also take off the hiking shoes and socks and leave them to air whenever you’re sitting or resting.
Take care of any blisters on your feet immediately you notice them. This is why you must regularly examine your feet for any irritation or redness.
7. Pack Enough Snacks and Water
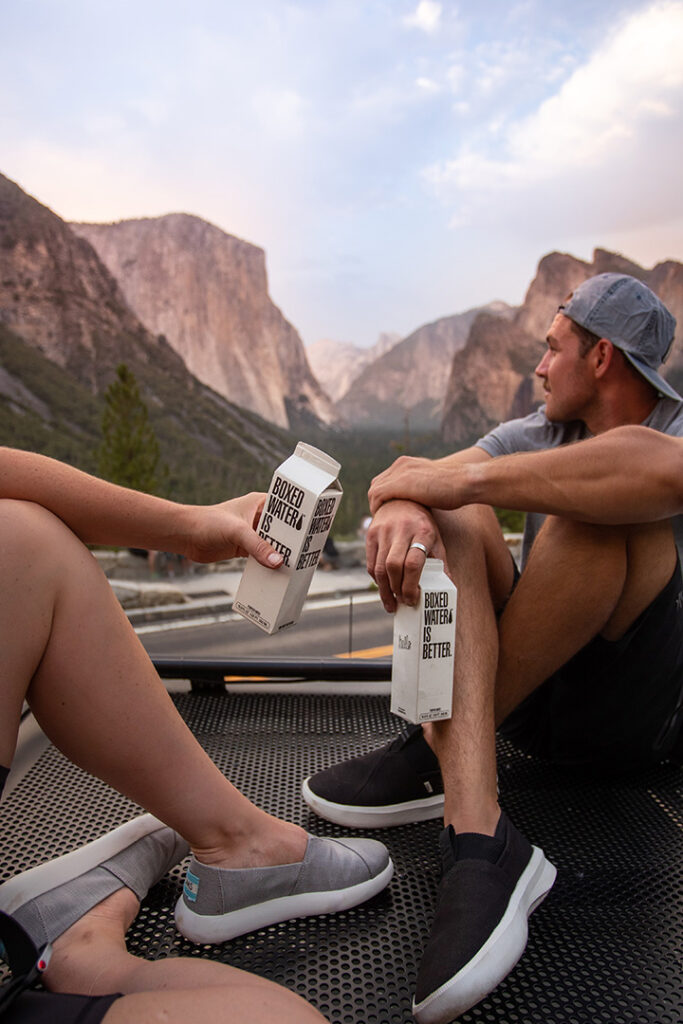
Dehydration is one of the most common problems that hikers face, especially when hiking through the dry or cold air. This is why you should pack more water than you feel you need.
You can also get a water filtration device to help out if your water gets depleted. This would allow you to get pure water from any water source you find.
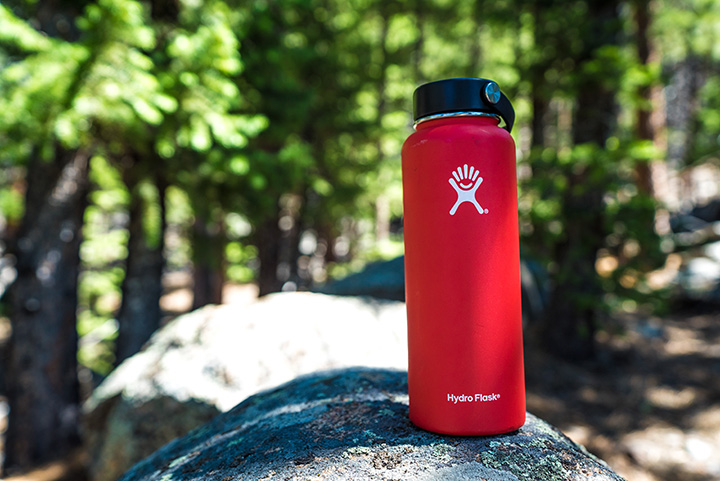
It’s also great to have some snacks on hand whenever you need an energy or morale boost during your hike. You can keep some nuts or energy bars to help you on your way.
8. Stay on the Trail
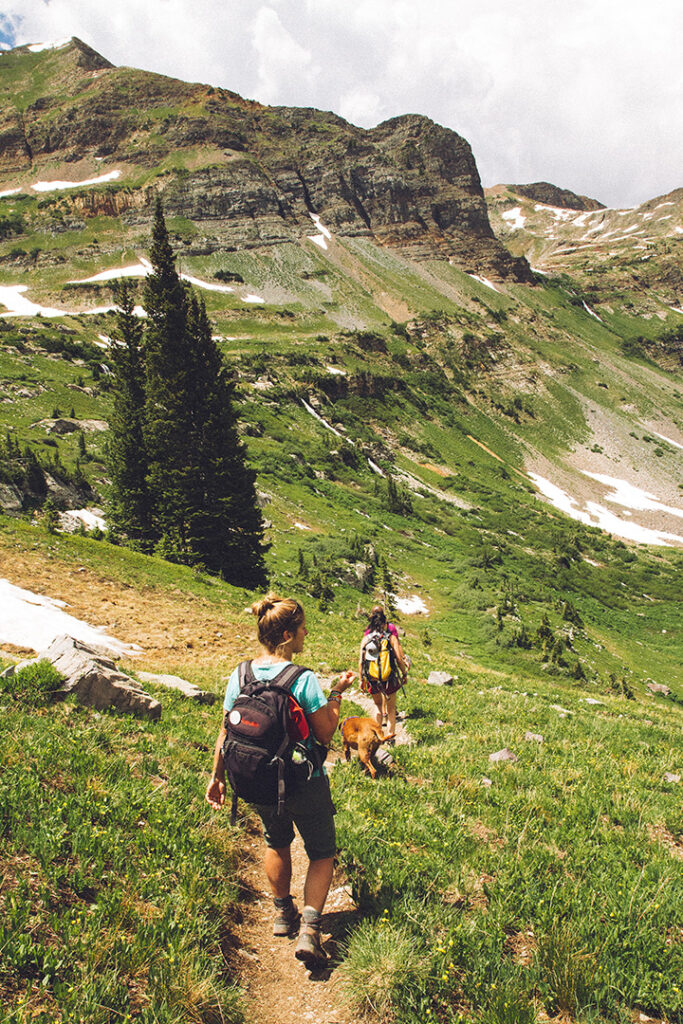
The number one key to proper hiking protection is staying on the trail during your hike. Wandering off the path is the surest way for you to encounter a dangerous obstacle.
Staying on the correct route is always the right choice as you do not want to be caught up alone in the middle of the woods at night.
Rescue missions often turn out to be quite dangerous so it’s better to just prevent one.
9. Do Not Interact With Wildlife
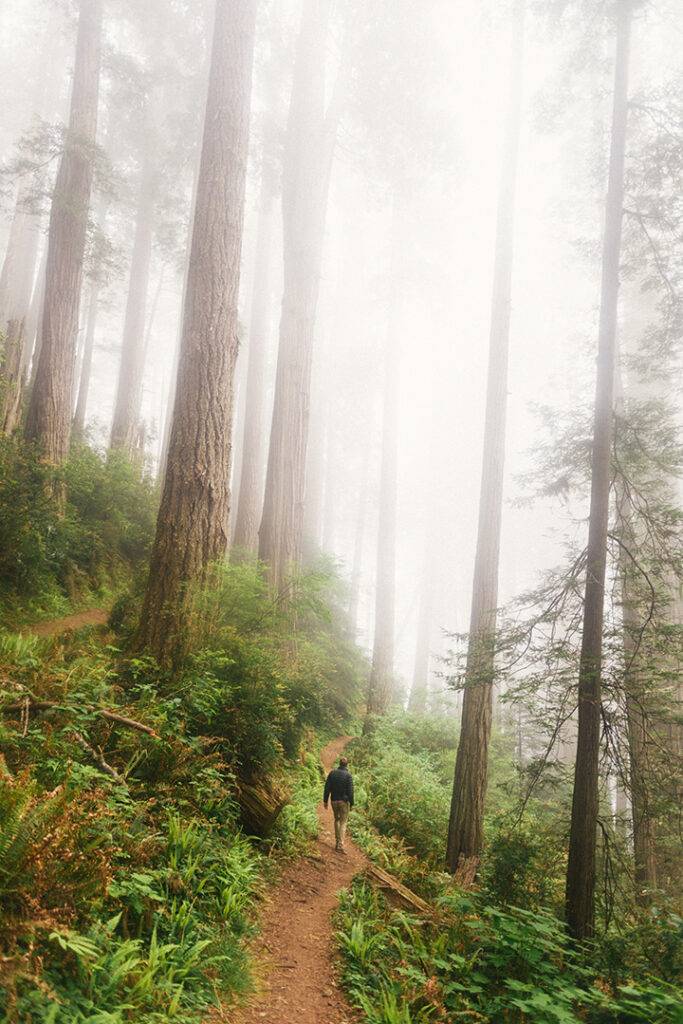
If you obey tip number 8, then you probably won’t have to face any wildlife directly. However, if you do spot any wildlife, it is best that you experience the encounter from a distance.
For animals like bison, moose, and elk, it is recommended that you stay at least 25 yards away, while bigger and more dangerous wildlife like bears requires about 100 yards of distance.
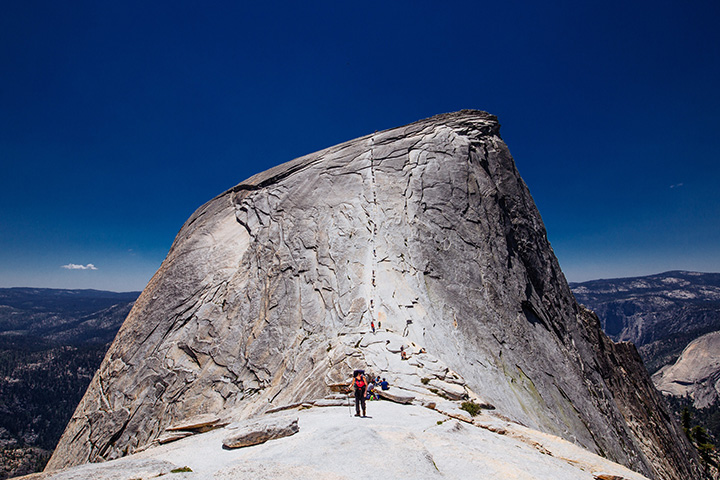
You can get more information about wildlife and what you should do in specific cases online. It is best you find out the possible wildlife you might face on your hike as well, so you can be better prepared.
10. Set a Reasonable Pace
If you’re traveling in a group (which is usually the best option for good hiking protection), then you should let the slowest hiker set the pace.
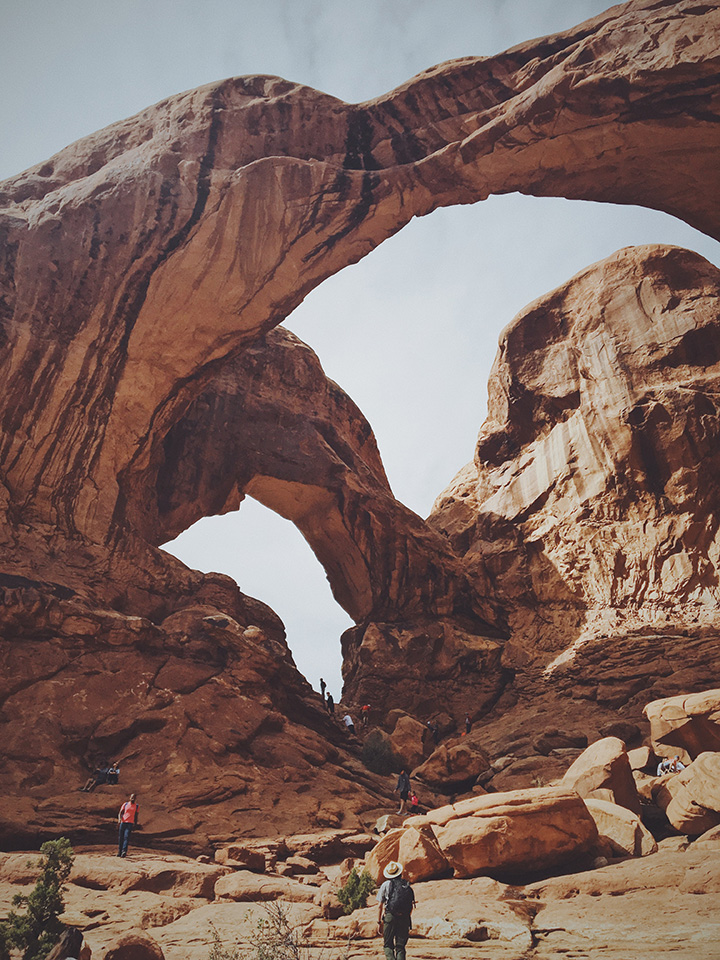
This will ensure that you always stay safe together, even though it might take a bit more time to reach your destination.
It will also help to prevent anyone from getting lost and also allow you all to deal with any problems or injuries more efficiently.

11. Track Your Distance and Time
The total hike time is the time it takes to hike to the destination and right back to the starting point. Take note of the time you set out as well as when you turn around so you do not end up stuck in the dark out on the trail.
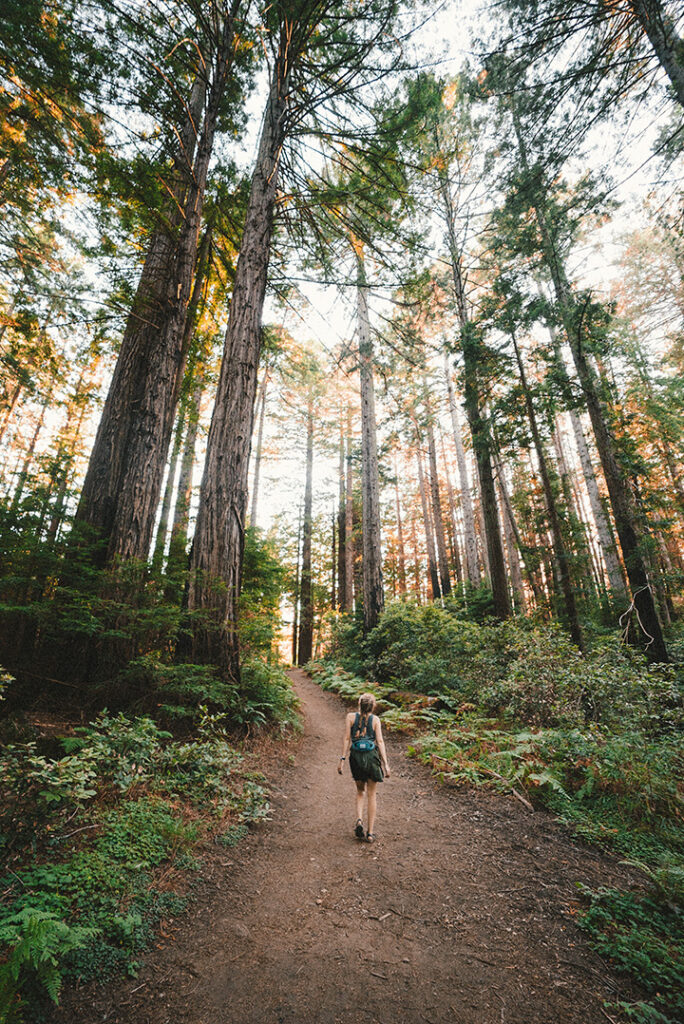
If the trip seems to be taking longer than you planned, then you can turn around to ensure you get back to the starting point on time.
Pin Our 11 Hiking Safety Tips
These are 11 of the most important hiking safety tips, and you should have an amazing experience if you follow them judiciously.
Remember to stay on the trail and also don’t litter. Pack all the necessary items you need for the hike and don’t forget to have a great time in the beauty of nature.
This guest post was written by the kind folks at Outdoor Adept. Check their page for more outdoor tips and hacks.