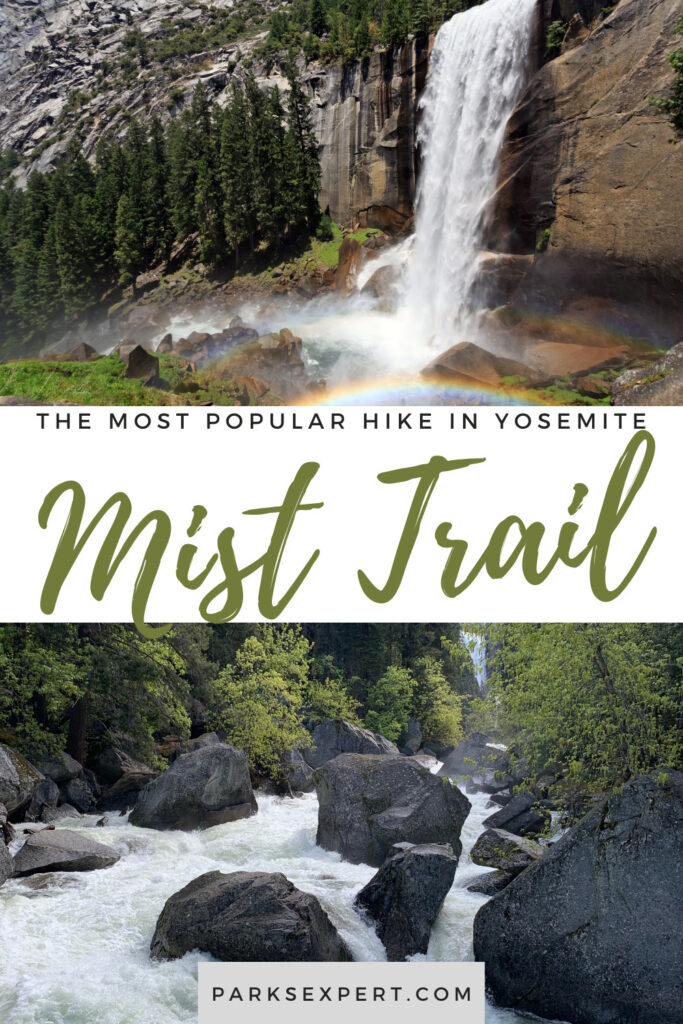
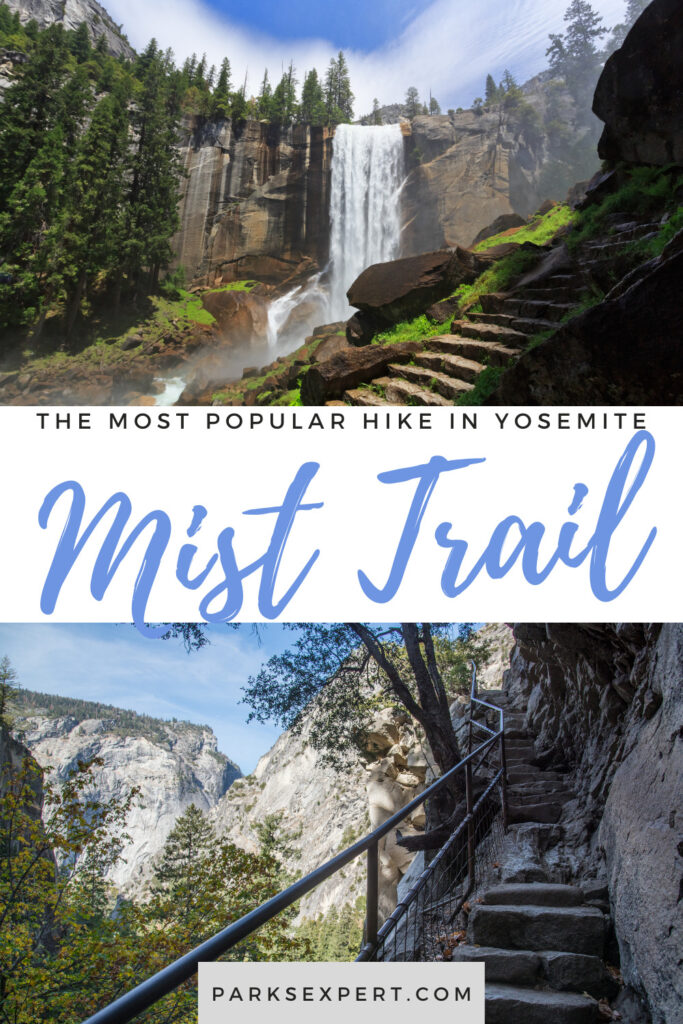
If you only have time for one full day hike in Yosemite, make it the Mist Trail. This is Yosemite National Park at its finest. Featuring all the quintessential things that make the park so special, you won’t be disappointed. From sweeping scenic vistas to powerful waterfalls, Mist Trail is easily worth the climb.
Don’t be scared of hiking the Mist Trail in Yosemite because it is strenuous and steep. After the hike, you’ll have memories for a lifetime. Continue reading to learn what the hike entails and prepare to hike Mist Trail, undoubtedly a future favorite. It’s the most popular hike in Yosemite National Park for a reason!
This post may contain affiliate links. If you make a purchase, I may earn a small commission at no additional cost to you. For more information, view my privacy policy.
Table of Contents
Mist Trail Overview & Map

There are a few different destinations on the Mist Trail. Depending on your hiking ability or the amount of time you have to spend in Yosemite, you may not want to hike the full trail.
I recommend making the Mist Trail a loop by connecting to the John Muir Trail. This makes the hike a bit longer, but the descent is not as steep and is easier on your knees and joints. Plus, it’ll give you a different view. There are also hundreds of people climbing the infamous staircase to Vernal Falls. The staircase is narrow in many places, making the descent even more treacherous.
You can avoid all of that by connecting to the John Muir Trail. You can do this at two junctions: near the Silver Apron at the top of Vernal Falls (via the Clark Point cutoff) or at the top of Nevada Falls.
Mist Trail Map (Loop with John Muir Trail)
To Vernal Falls Footbridge
Distance: 1.6 miles roundtrip
Elevation Gain: 400 feet
Time: Allow 1-1.5 hours.
To the top of Vernal Falls

Distance: 2.4 miles roundtrip
Elevation Gain: 1,000 feet, including over 650 granite steps
Time: Allow 3 hours
To Clark Point
Distance: 4.2 miles roundtrip
Elevation Gain: 1,500 feet
Time: Allow 4.5-5 hours
To the top of Nevada Falls
Distance: 5.4 miles roundtrip
Elevation Gain: 2,000 feet
Time: Allow 6 hours
*I wore my FitBit while hiking the Mist Trail + John Muir Trail loop to the top of Nevada Falls. While I realize it isn’t the most accurate, it says I walked considerably farther – almost 7 miles roundtrip.
Safety & Regulations on the Mist Trail
Here are a few things to consider before you head out on the Mist Trail:
- You’re required to pack out all trash. While there are three restrooms along the route, they are not equipped with trash cans. Don’t leave any litter on the trails.
- Don’t feed wildlife!
- The trails can be slippery or icy, especially in spring or early summer when the waterfalls hold the most water. Watch your step and take your time.
- Don’t swim or wade in the pools. This is illegal. The river may look calm, but this is deceptive. The water has dangerous currents that will sweep you away, and that death would be extremely painful.
- The railings are there for a reason. Don’t cross them! Rocks are slippery, even when they appear dry. The steep drops are also several thousand feet in many places.
- The Mist Trail is best in spring, summer, or fall. In winter, you’ll need to hike a slightly different route. Click here to learn more.
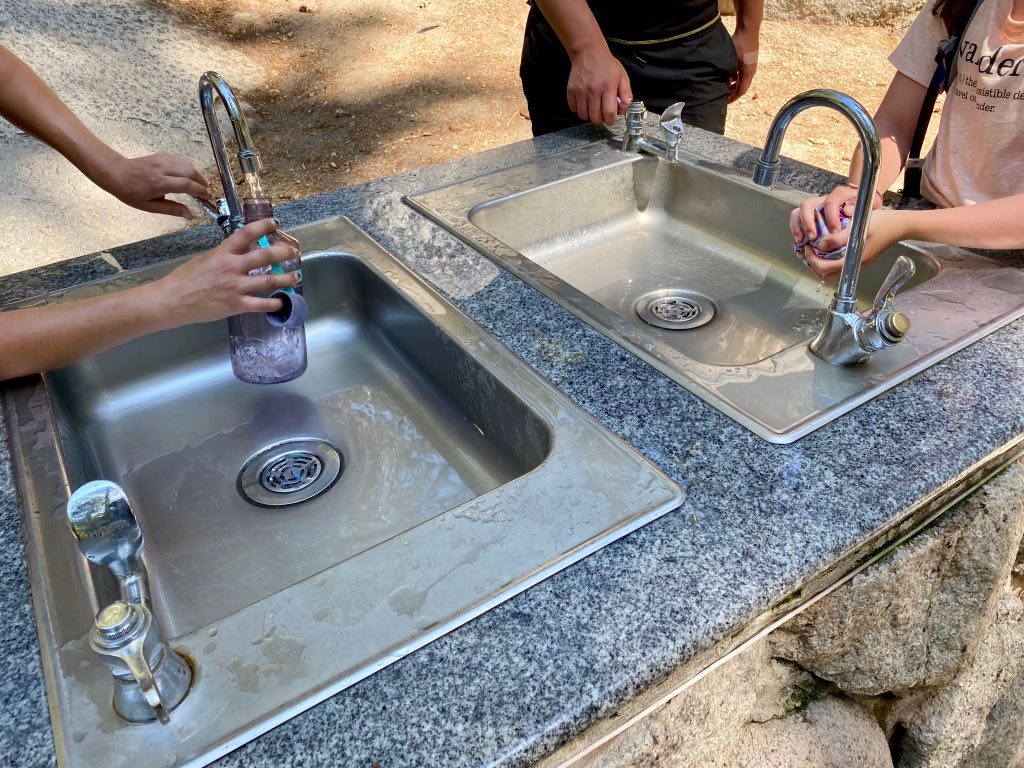
- Bring at least 3 liters of water per person if you’re hiking all the way to Nevada Falls, especially on hot summer days. Refill your bottle at the Vernal Falls footbridge.
- More people die on the Mist Trail than anywhere else in Yosemite National Park. No joke. It’s featured in Off the Wall: Death in Yosemite for a reason. Please heed my warnings and be careful, especially when the trail is wet, and do not swim!
What to Pack to Hike the Yosemite Mist Trail
Packing for such a long and strenuous can be tricky. Depending on the time of year, temperatures can range from over 85 degrees Fahrenheit during the day to 50 degrees once the sun goes down. Here’s a list of things you may need, with some items varying based on the season you decide to visit.
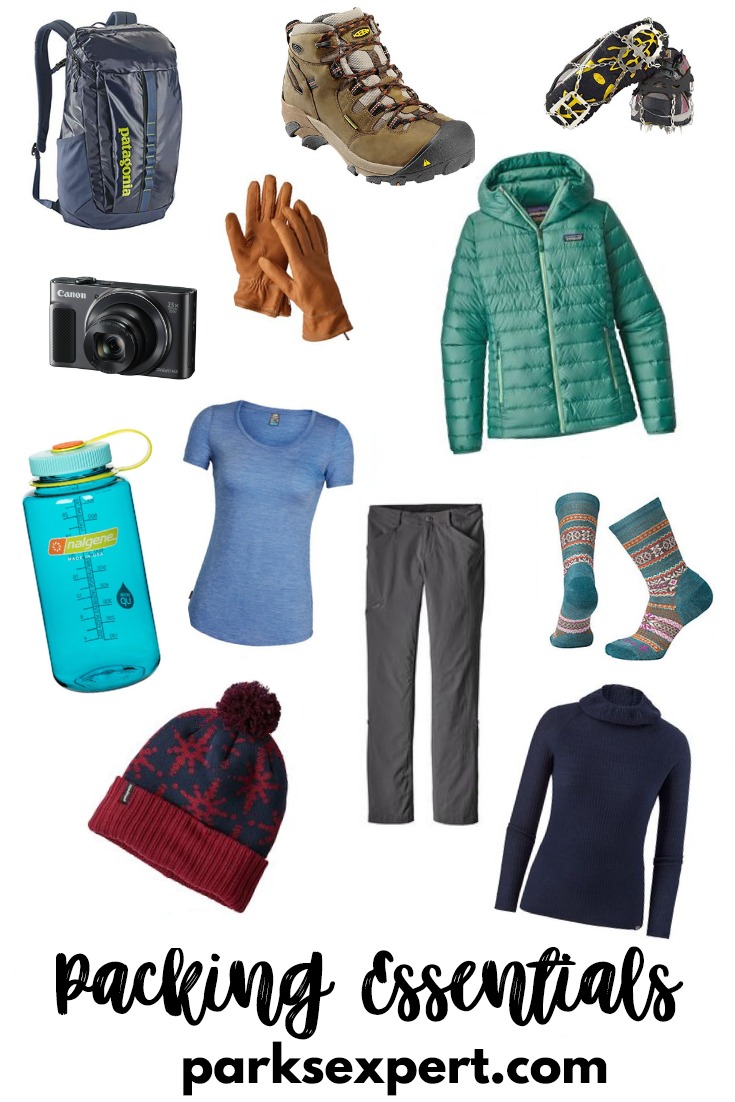
- A Reusable Water Bottle: Literally, the most important thing to have while hiking in Yosemite.
- Moisture-wicking Layers: You’ll want short- and long-sleeve shirts to wear underneath your jacket. In the summer, you may also want a tank top. Choose polyester over cotton.
- Jacket: I always have a packable down with me on trips. I also love this new jacket I got a few months ago, as it’s very light yet warm. Synthetic is a good alternative to down if you’re worried about rain or mist on the Mist Trail.
- Hiking Pants or Shorts: My favorite hiking pants can be found here. As a taller woman, I also love Columbia’s pants because they offer long sizes. Convertible hiking pants that zip off and turn into shorts are a good idea for unpredictable weather.
- Hat: Depending on the season, you’ll need a winter hat or summer hat.
- Gloves or Mittens: Gloves are critical if you’re visiting in the winter or camping overnight.
- Wool Socks: Smartwool is my favorite brand for wool socks. Make sure to get wool so your feet stay warm and dry.
- Grippers, Spikes, or Crampons: If you plan to hike in the winter, I strongly recommend grippers for a potentially icy experience on the Mist Trail. Note that the hiking route changes in winter. Come prepared and avoid the fall!
- Camera: I had my trusty Canon Rebel T5i, my Canon Powershot SX620, and my iPhone 11 with me on this hike.
- Tripod: If you’re hoping to take decent photos of the cascades, sunsets, or wildlife, I’d strongly recommend carrying a tripod with you.
- Boots: I love my Keens, and will never choose another brand for my everyday boots. In winter, I choose a much warmer pair of Solomon boots.
- Backpack: I brought my Deuter Trail pack, but a friend of mine had a water-resistant Patagonia pack I was extremely jealous of.
More from Yosemite

Yosemite National Park

Yosemite National Park Phone Case

Yosemite Eco-Friendly Phone Case

Yosemite National Park Pennant

Fodor’s Guide to the 63 National Parks

Fodor’s Guide to Yosemite, Sequoia, and Kings Canyon

Women’s National Parks Checklist T-Shirt

Women’s National Parks Checklist T-Shirt

Map of National Parks T-Shirt

Yosemite National Park Hat

Yosemite National Park Sticker

Yosemite National Park Pin

Yosemite National Park Patch

63 National Parks Water Bottle

Yosemite Ornament

Yosemite National Park Sticker

California National Parks Face Mask

The Last Season

Yosemite National Park Calendar with 100+ Stickers

Yosemite National Park Map
- Hiking Yosemite National Park: a great book with details on even more of the best hikes in Yosemite to add to your Yosemite Itinerary
- Easy Day Hikes in Yosemite: a great resource for those who want easier, shorter hikes
- Lonely Planet Guide to Yosemite, Sequoia, and Kings Canyon
- Moon Guide: The Best of Yosemite
In order to save money, I would recommend purchasing a national parks pass. These cost $80 and are valid for a full calendar year (from the date of purchase) at all public lands in the United States. After you visit 3 national parks, it’ll have paid for itself. It also makes a great gift for national park enthusiasts! Learn more about park entry fees.
How to Get to the Trailhead
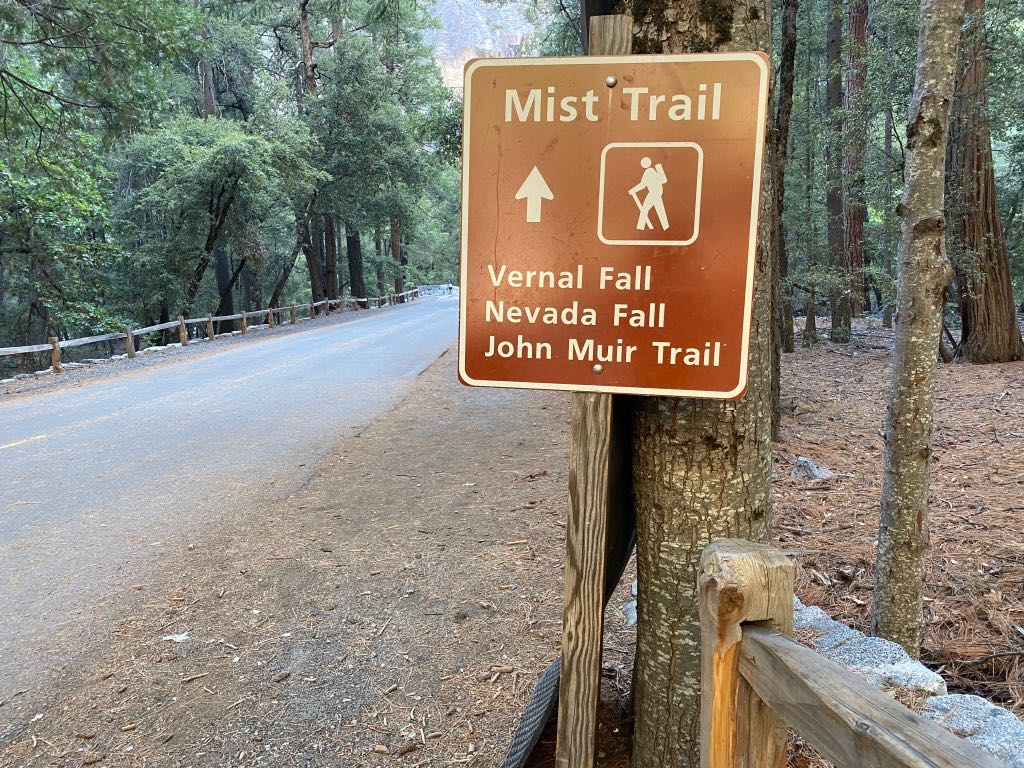
The Mist Trail begins near Happy Isles Nature Center. This is shuttle stop #16 on the Yosemite Valley shuttle. There’s also an unpaved parking area nearby. Alternatively, you can begin your hike at Curry Village, which adds 1.5 miles to the total distance.
There is a bathroom at the trailhead with flush toilets and sinks if you need to refill your water bottle before you begin.
Mist Trail to Vernal Falls Footbridge
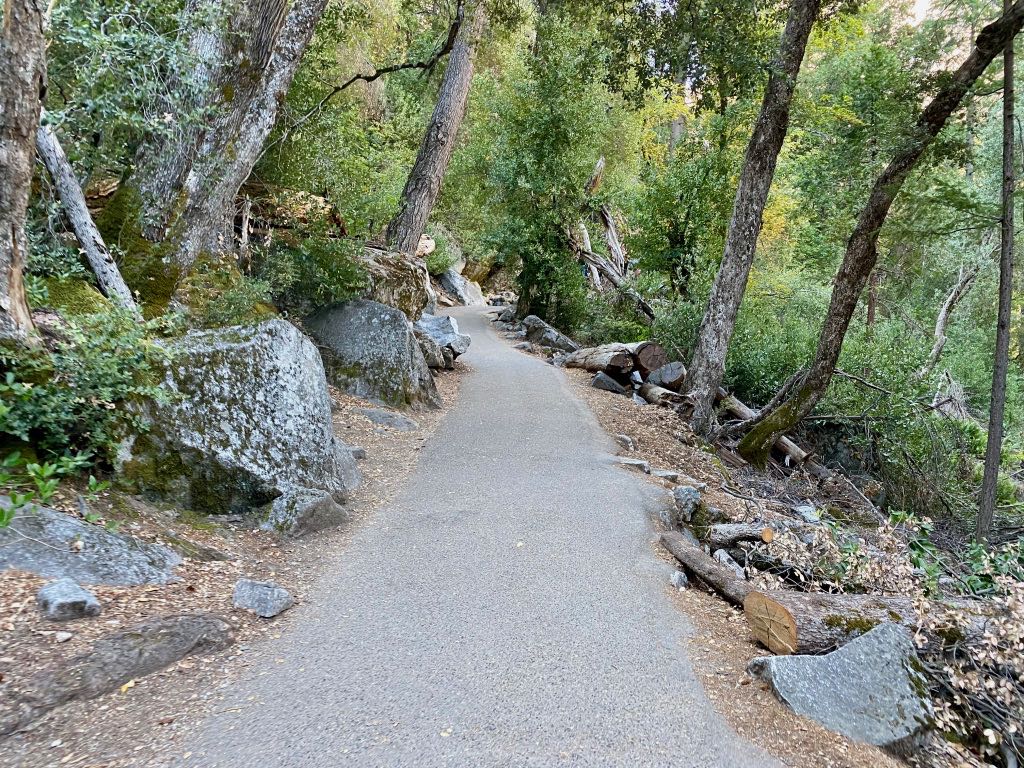
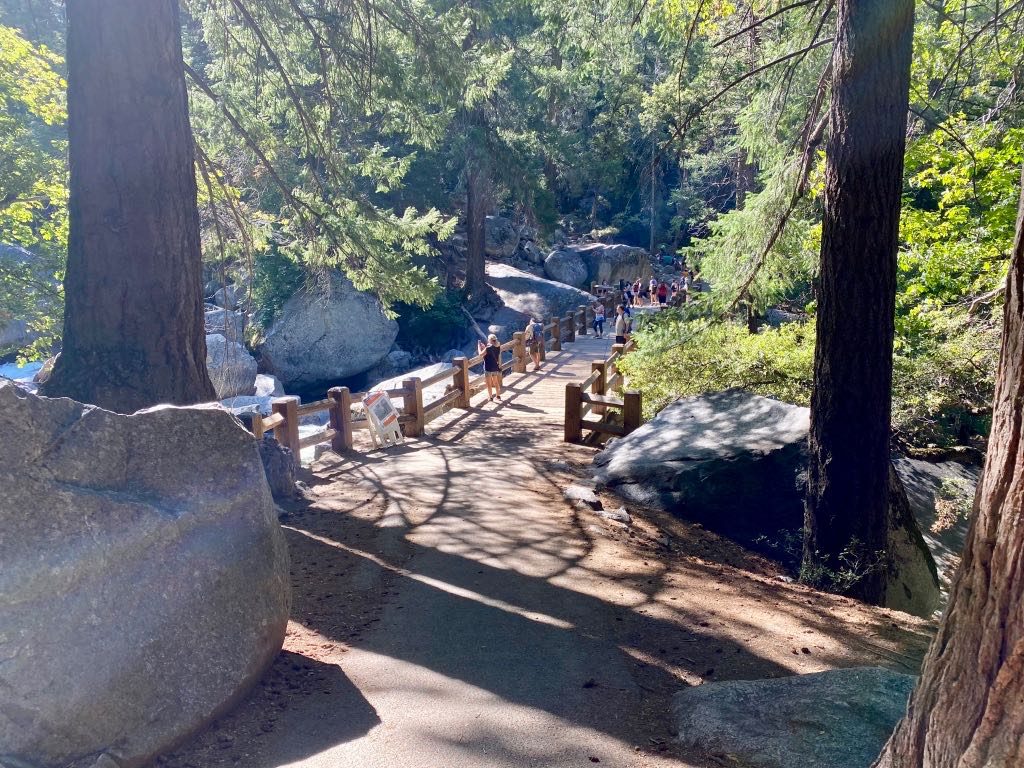
Almost immediately, you’ll begin ascending. The first 400 feet to the footbridge feels gradual as you go up, but I thought it felt much steeper on the return trip. There are a few dips down that you won’t notice until you have to climb up them as you return.
This portion of the Mist Trail is also paved. This makes it the most crowded section of the path. Once you reach the footbridge, a lot of hikers will turn around. Still, it’s unlikely you’ll find solitude as you continue to Vernal Falls.
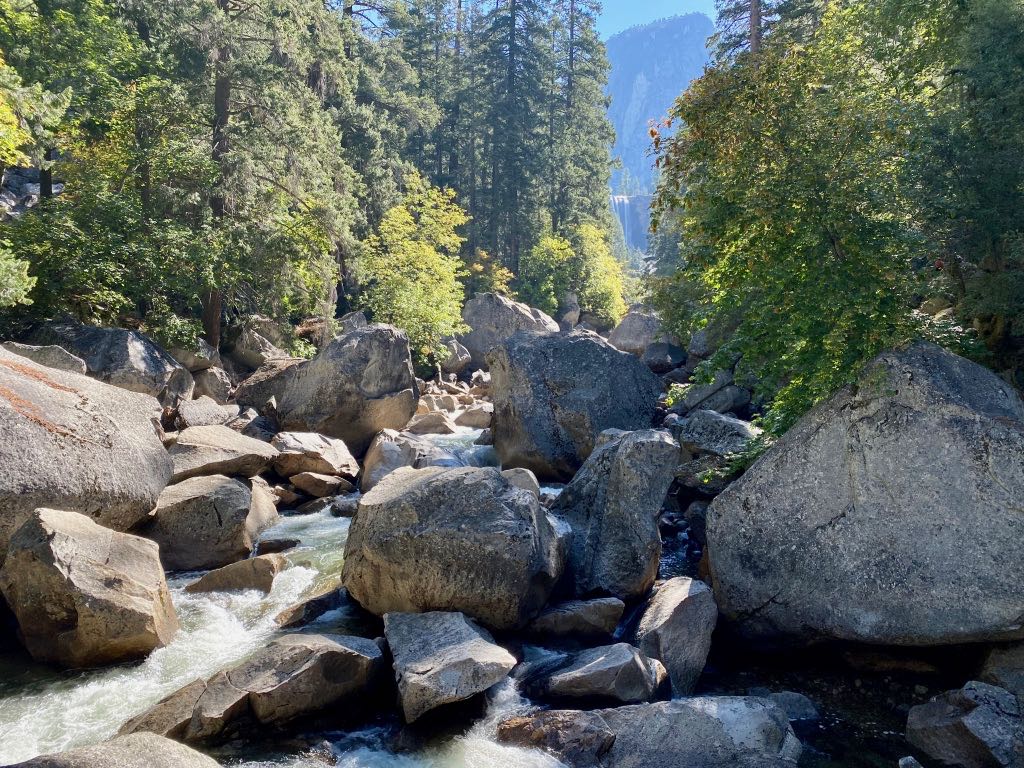
As you cross the bridge, you’ll get the first glimpses of the 317-foot Vernal Falls over the Merced River. If you hike in the spring, when the water levels are at their highest, you can also see Illillouette Fall from this first section of the Mist Trail.
On the other side of the bridge, there’s another restroom (with flush toilets) and a water refill station. Refill your water! Even if you don’t think you need to. The water here is very good and ice cold. There are also a couple of benches and nice boulders if you need a break before climbing the giant staircase.
Mist Trail to Vernal Falls
About 0.2 miles after the footbridge, you’ll arrive at the first trail junction. We went up the Mist Trail, which is what I would recommend. The John Muir Trail is switchbacks for 4 miles straight and seemed brutal. We came down that way instead, forming a loop. To follow the Mist Trail, take the fork to the left
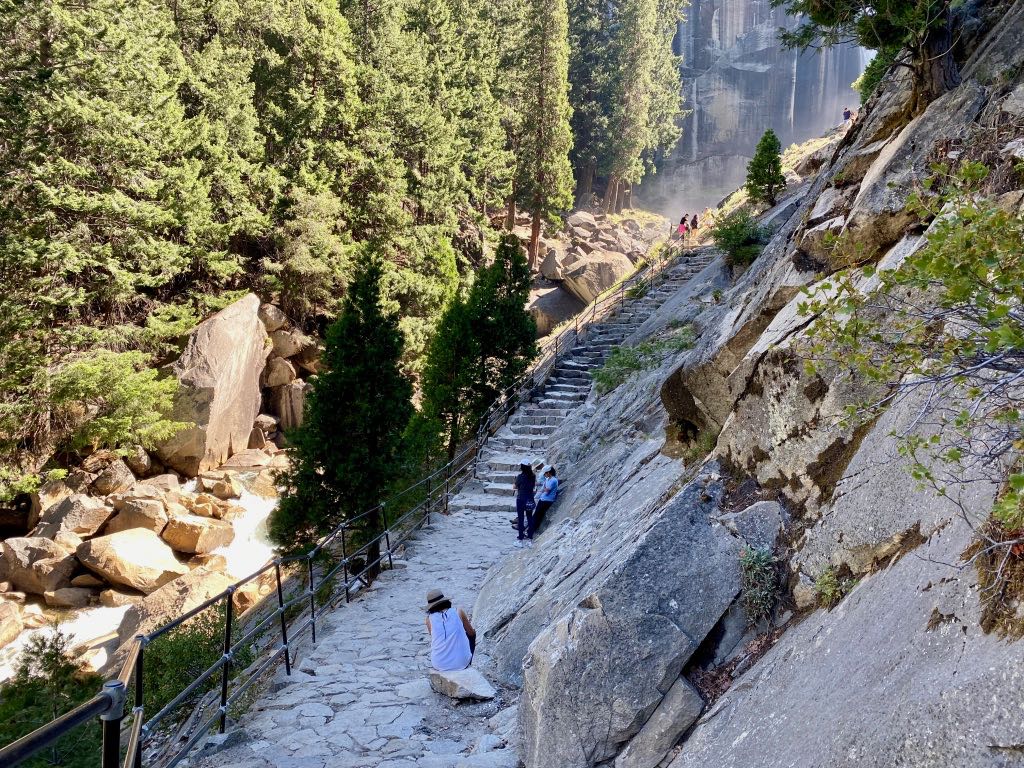
From this junction, it’s only 0.5 miles to the top of Vernal Falls. However, you’ll need to climb over 650 stairs to get there! You’ll come upon the staircase after a few more uphill climbs.
As you make your way up, views of Vernal Falls will improve.

Use caution, especially if you hike in spring or early summer. This is when the namesake mist is most fierce, drenching visitors and the trail. The granite can be extremely slippery, so take your time and be very careful. Also, make sure you bring rain pants, a rain jacket, and/or ponchos if you don’t want to be soaked. I’m talking a jumped-into-the-ocean level of soaking.
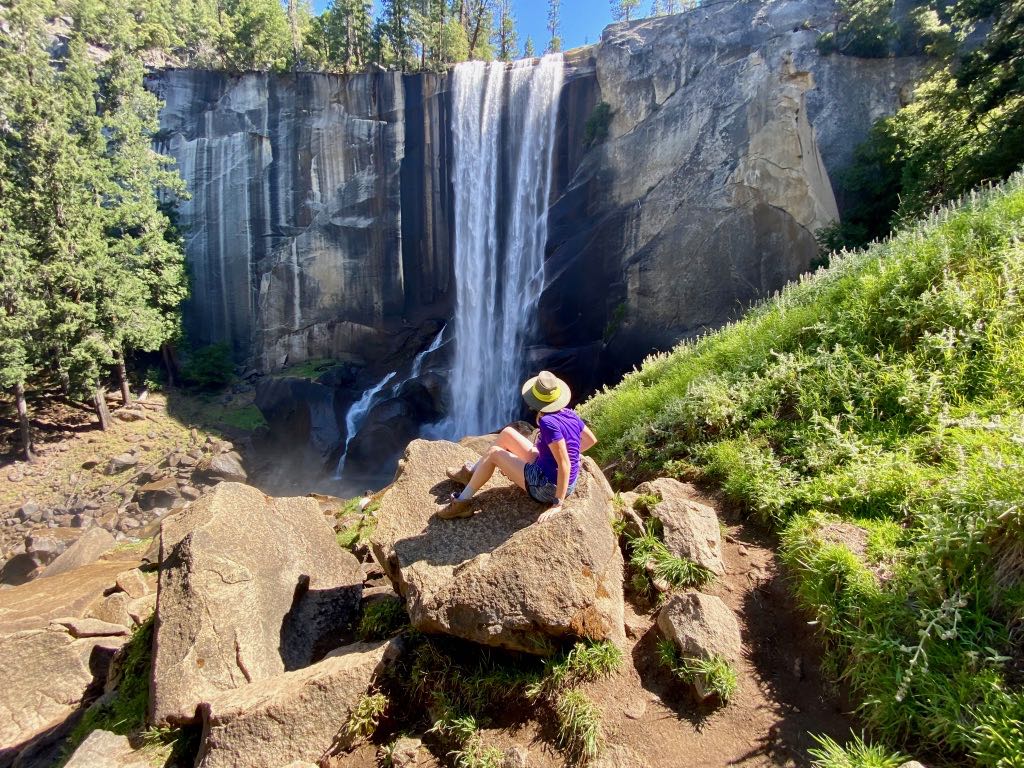
Once you’re closer to the top, look down. If you’re there at the right time of day there may be a rainbow in Vernal Falls!
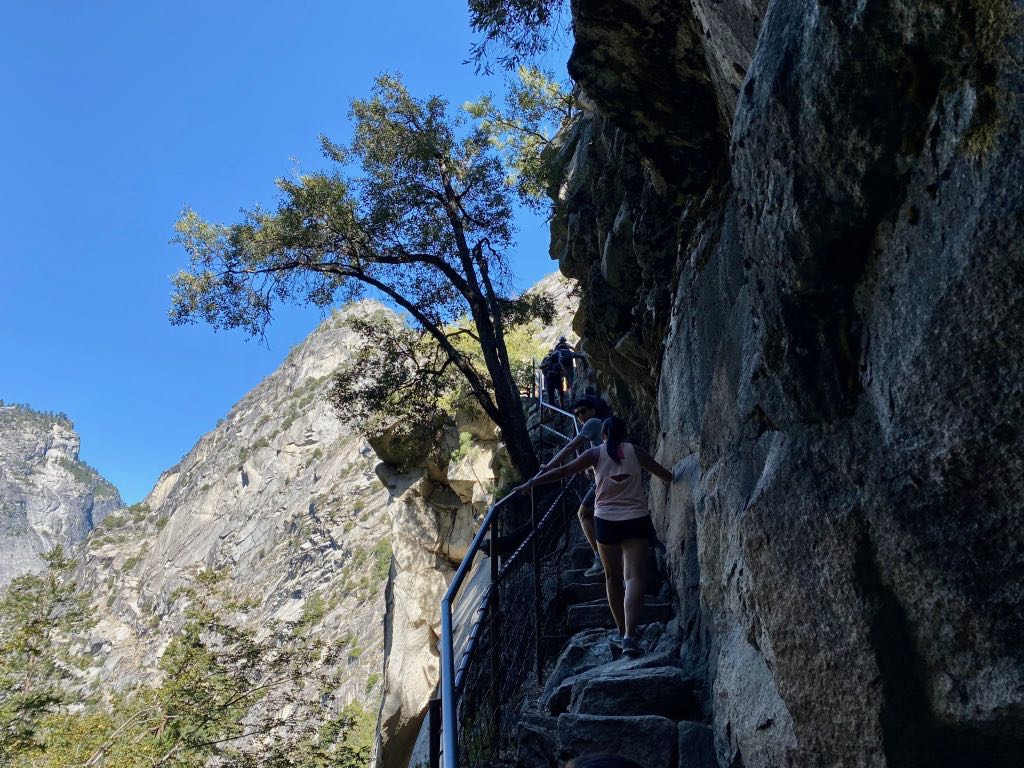
Next is the scariest and narrowest part of the stair climb. Thank god for railings! This part of the Mist Trail is not wide enough for two-way traffic, though you’ll see many visitors trying to descend. This is one of the many reasons why I highly recommend returning on the John Muir Trail.
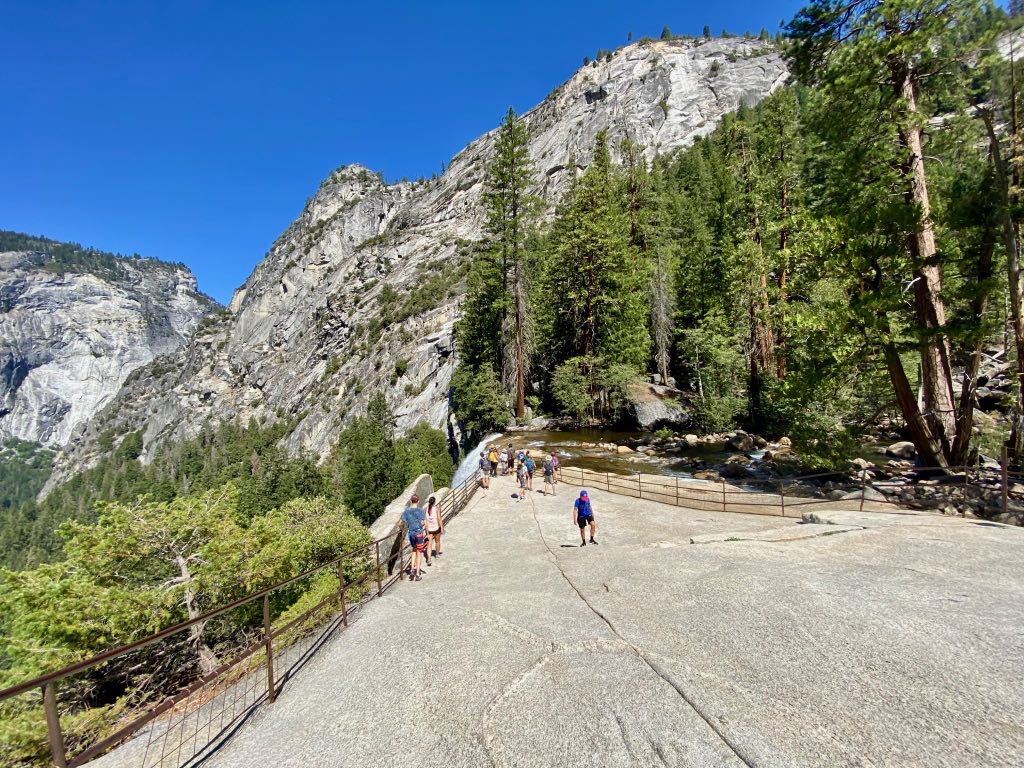
The view from the top of Vernal Falls is okay, nothing mind-blowing. If the 650+ stairs are daunting for you, or if you’re scared of heights, you may want to skip out on going all the way to the top. You could catch great views of the fall near the bottom of the steps and then turn back if you want to skip out on most of the stairs.
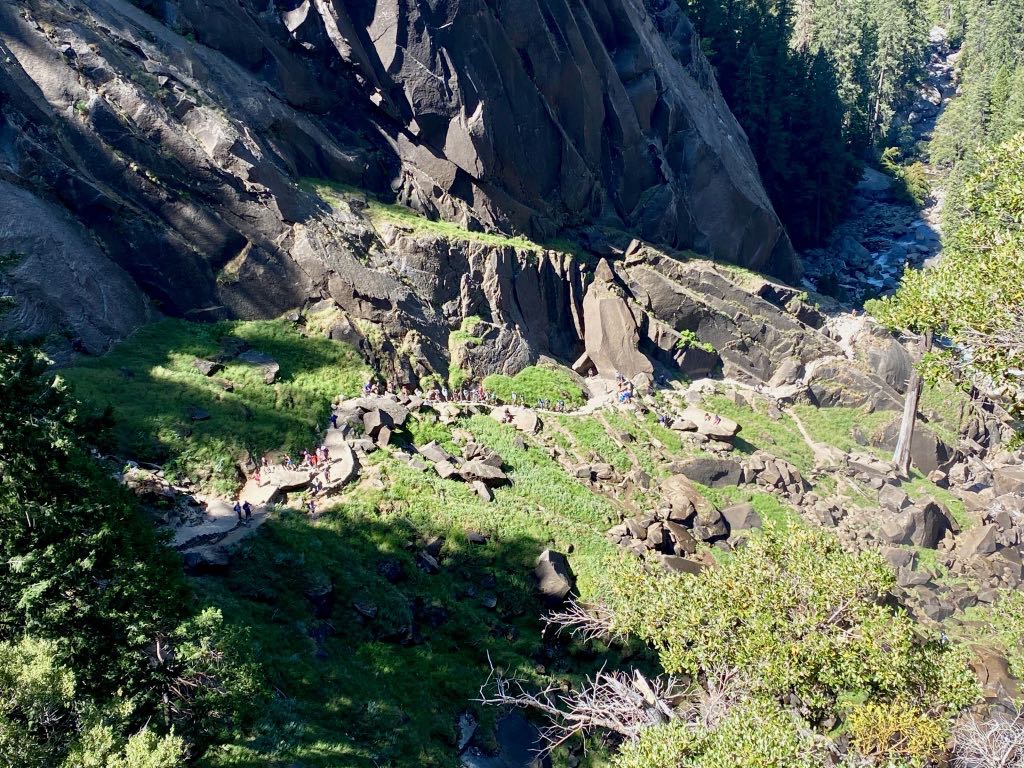
From the top, you can look down on the winding trail and feel accomplished! The hikers behind you will look like little ants making their way up the staircase.
Vernal Falls to Nevada Falls
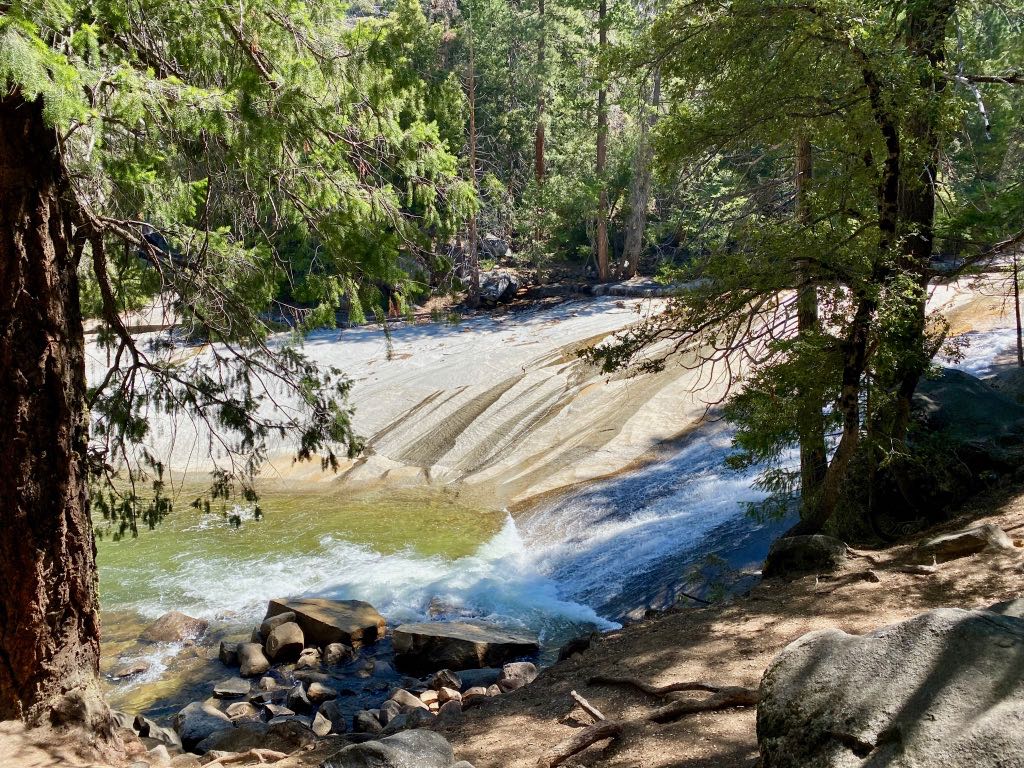
After looking at the fall from the top, you’ll walk along a path through the woods near Emerald Pool and the Silver Apron. The tempting water looks refreshing, especially after a challenging uphill hike. Especially the enticing Silver Apron, which resembles a water slide. It’s not! These are both deceptive – don’t swim or wade! Doing so would likely result in a horrific death.
Not too far from the Silver Apron, you’ll see the next trail junction. To stay on the Mist Trail you’ll want to follow the path that says Nevada Falls is 1.3 miles away. If you take the John Muir Trail from here, Nevada Falls would be 1.6 miles.
Some people take the John Muir Trail to Clark Point, which has a lovely view of Nevada Falls. This is done by connecting to the Clark Point cutoff from this junction. You still have to climb switchbacks, but not as many as those who climb to the top. Clark Point is a steep, uphill trek with no shade. You’ll gain 500 feet as you walk 0.4 miles on your way to the Nevada Falls viewpoint. Then, descend on the John Muir Trail from there.

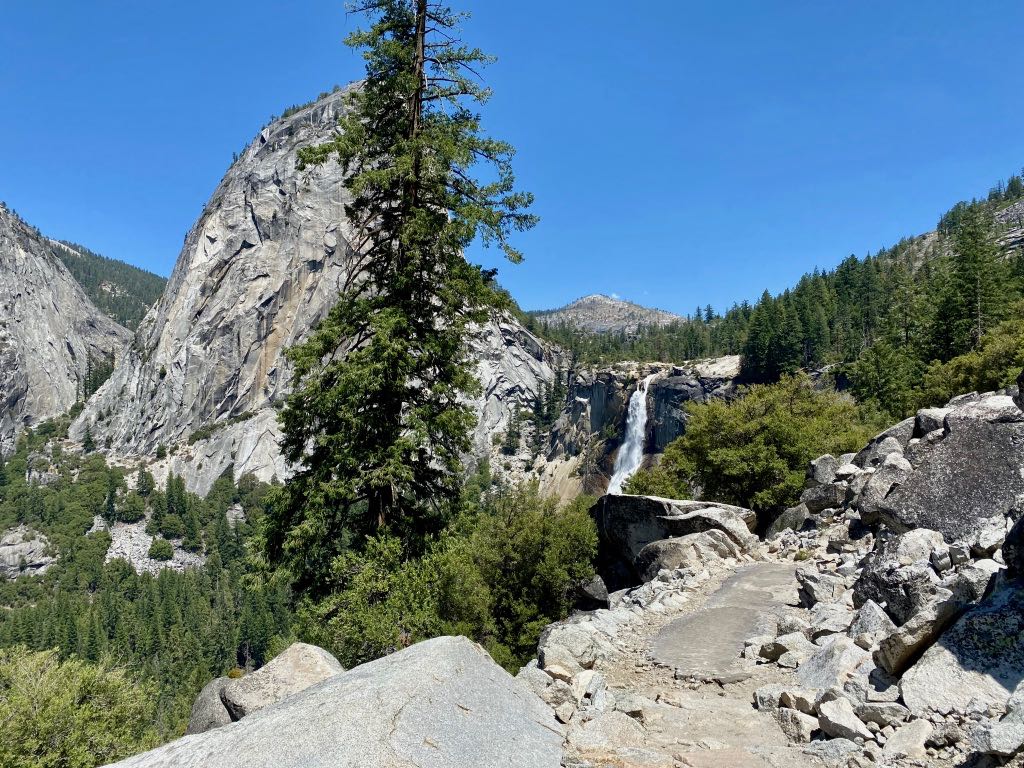
If you stick to the Mist Trail, you’ll leave a majority of the other hikers behind. You’ll see the first view of Nevada Falls once you leave the wooded area. The view only shows you the top of the falls, so you’ll need to continue if you’d like a full view.
You’ll continue walking and cross your second footbridge of the Mist Trail hike. From here, you’ll see the creek down below and start to see some views of Liberty Cap, too.
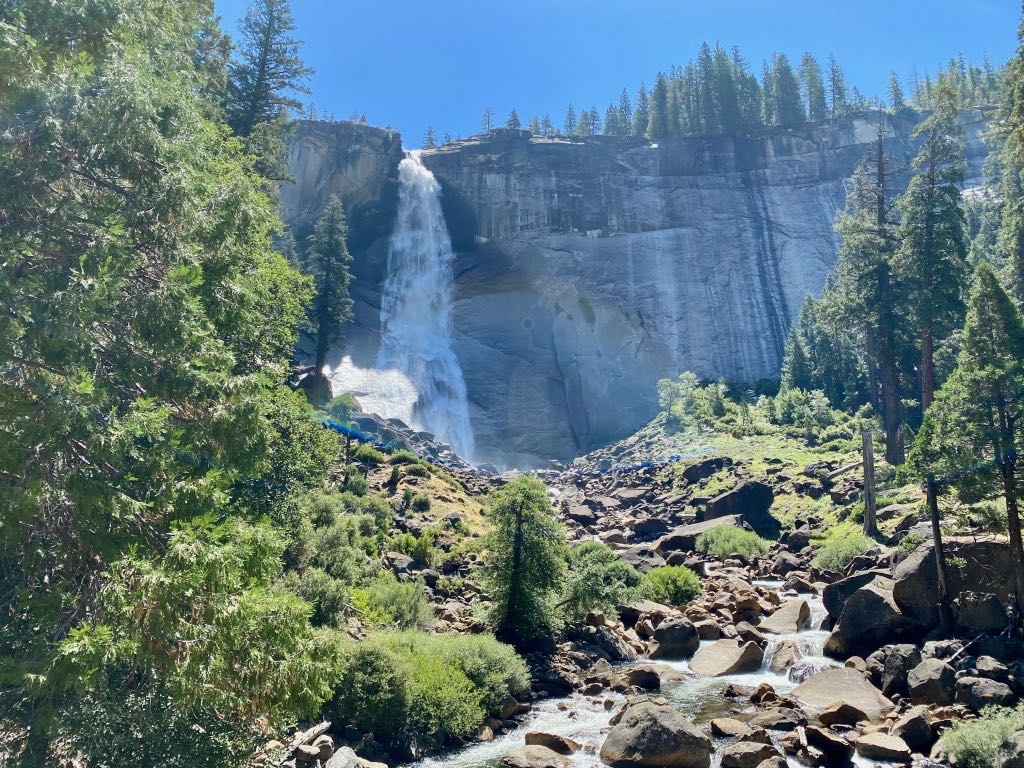
One of the bends will allow for your first glimpse of the entire 594-foot Nevada Falls. You could easily turn around here if making it to the top isn’t important for you. That said, the views from the top of Nevada Falls are way better than those at Vernal Falls.
From there, you’ll continue to walk through the forest and catch small glimpses of Nevada Falls along the way. Then, the trail will go up.
And up…
And up…
And up.

This is the most exposed part of the trail, so take breaks in the shade when you can. It’s also the most difficult section between the two waterfalls. Expect to continue climbing stairs as you ascend on tight switchbacks. You’ll get views of Nevada Falls as you climb, but they’re mostly from the side. Views will be better when you descend on the John Muir Trail.
At the top of the stairs is the third and final bathroom (this one is a pit toilet). This is where the Mist Trail ends and you’ll want to pick up the John Muir Trail to head back down to Yosemite Valley. Alternatively, you can walk past the bathrooms to continue up the John Muir Trail to Half Dome and beyond.
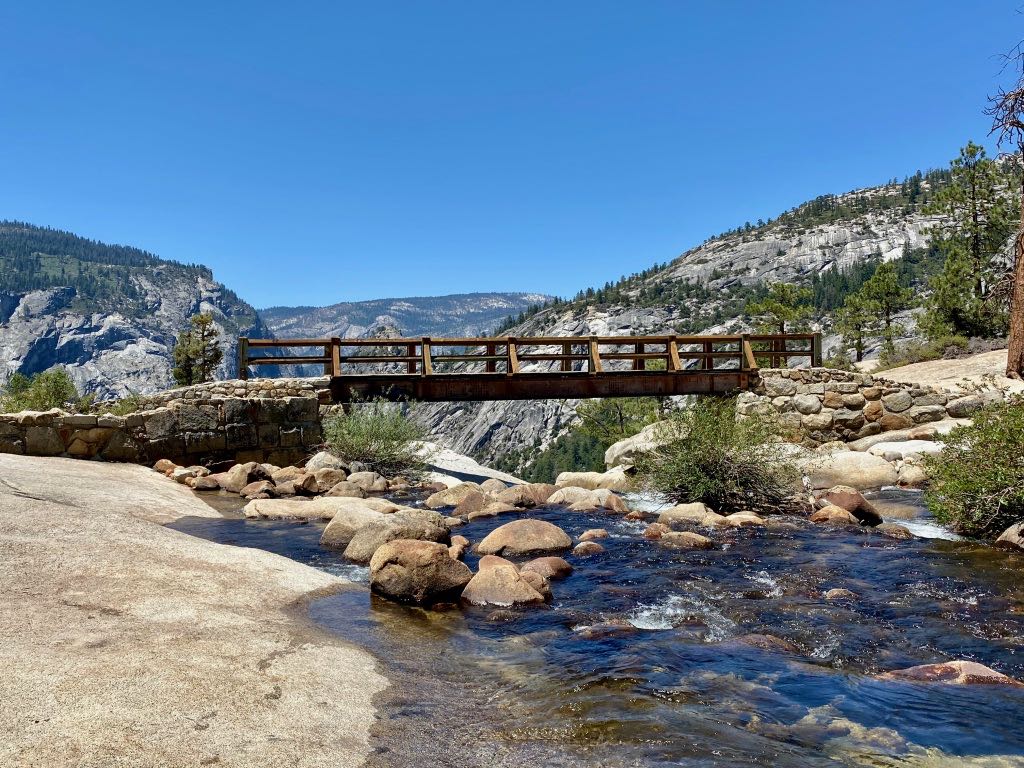
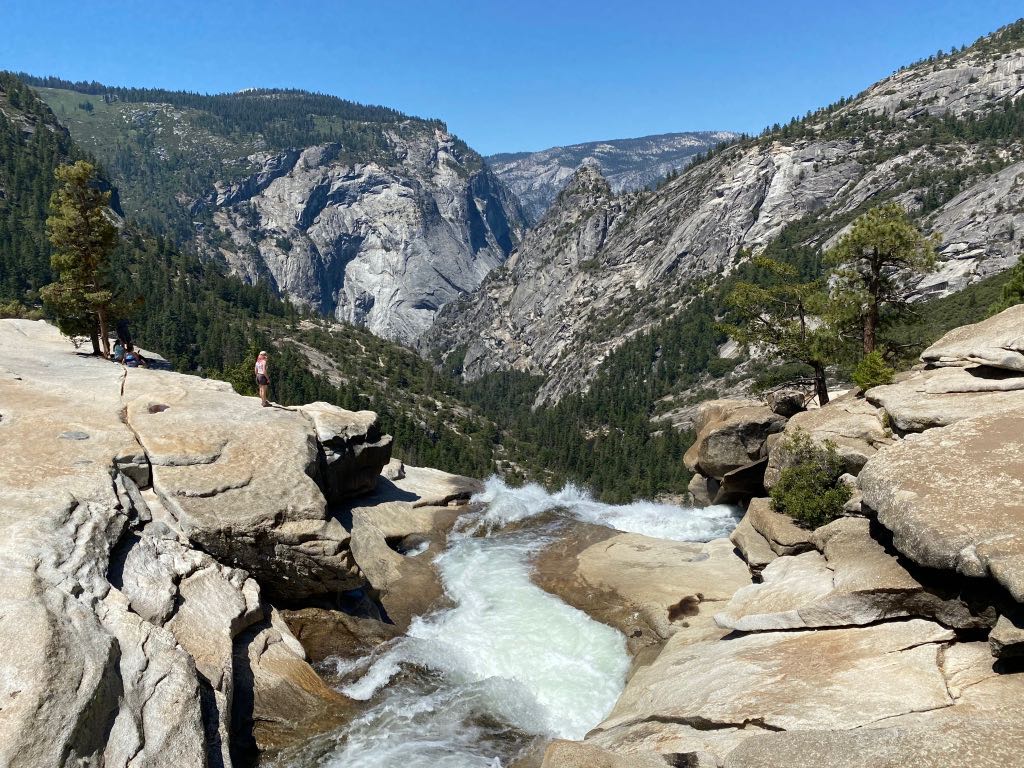
A flat but exposed walk across granite slickrock will bring you to the third and final footbridge over the top of the Nevada Falls. You’ll see spectacular views here; way better than the views at Vernal Falls.
Use caution if you choose to go in the water. People have died! This is especially important early in the season when there’s more water. We went in August and it was calm enough to dip your feet in. That was all we felt confident doing so that our center of gravity stayed on the shore. Others were in the water completely. This I would never recommend.
Descending Via the John Muir Trail

After resting at the top, continue your descent on the John Muir Trail. Go straight from the bridge and you can find the trail again. Small rocks on the side will mark the trail before it reenters the forest and becomes more obvious.
The stone wall you come across next was my favorite part of the John Muir Trail with the best views of Nevada Falls as you descend. You also get great views over the terrain below and of Liberty Cap above. You can also see the back of Half Dome from this portion of the trail.
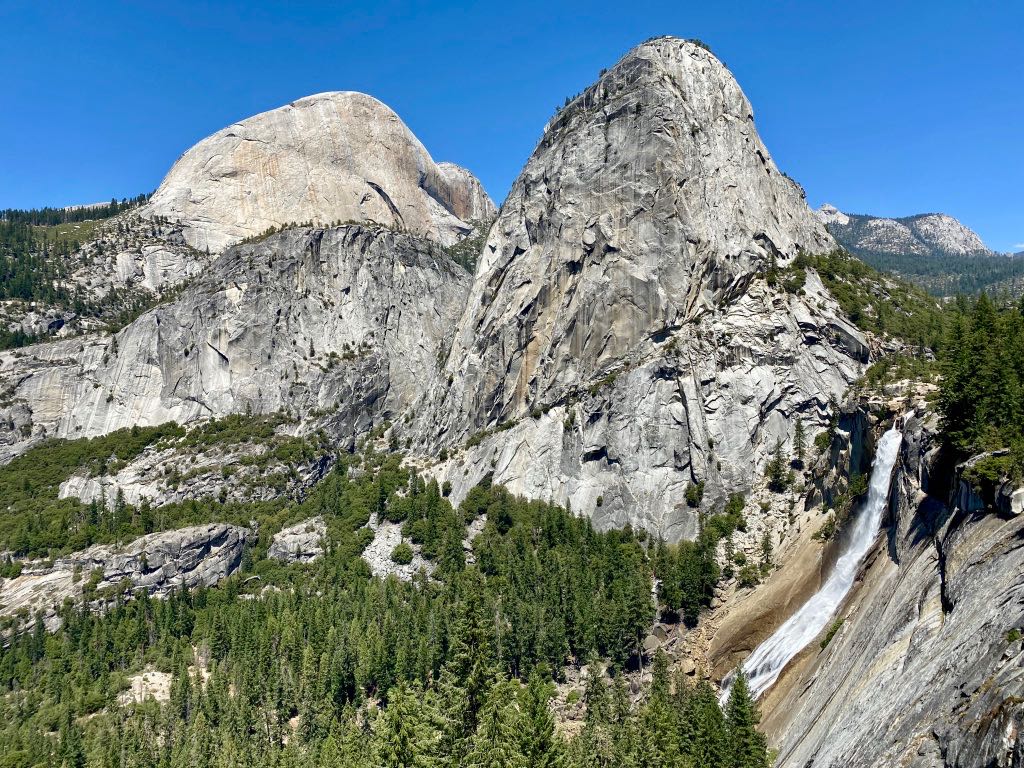
Continue your descent until you reach Clark Point, which is the last good view of Nevada Falls that you’ll see. This is where the Clark Point cutoff meets the John Muir Trail. If you wanted, you could take this back to Vernal Falls and then pick up the Mist Trail again. There are some views of Vernal Falls from above on the cutoff, which you won’t get on the John Muir Trail or the Mist Trail.
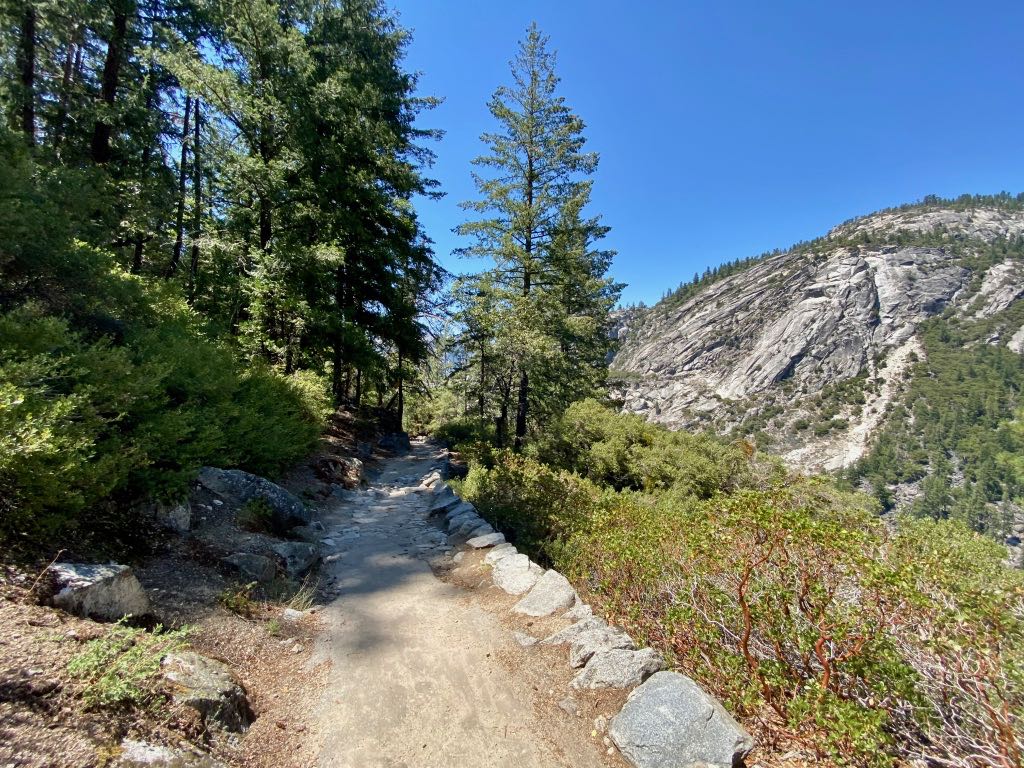
Descending on the John Muir Trail is straight switchbacks for the entire 4 miles back to Yosemite Valley. Use caution. It’s very steep and can be tough on the body, especially on your legs. I also found it to be very slippery so watch your footing and go as slow as you can.
You’ll join the Mist Trail again near the water fountain at the first footbridge. Refill your bottle as you descend the final mile. Again, go slow on this steep downhill portion and prepare yourself to go uphill a couple more times.
Read More About Yosemite National Park
- Things to Do in Yosemite Valley
- Yosemite Itinerary: 1, 2, 3, 4, or 5 Days
- 8 of the Best Hikes in Yosemite National Park
- Witnessing the Yosemite Firefall
Pin The Mist Trail Hiking Guide