If you’re looking for hiking trails in Canyonlands National Park, you’re in for a treat.
This desert wonderland has something for everyone, from easy hikes that are perfect for families to difficult trails that will challenge even the most experienced hikers.
With five districts to explore – Island in the Sky, The Needles, The Maze, Colorado and Green Rivers, and Horseshoe Canyon – there’s plenty of territory to cover.
So strap on your hiking boots and get ready to discover some of the best hikes in Canyonlands National Park!
This post may contain affiliate links. If you make a purchase, I may earn a small commission at no additional cost to you. For more information, view my privacy policy.

Table of Contents
Canyonlands National Park Overview
Canyonlands National Park is located in southeastern Utah near Moab and Arches National Park.
The park is divided into five districts – Island in the Sky, The Needles, The Maze, Colorado and Green Rivers, and Horseshoe Canyon. Each has its own unique landscape and hikes to explore.
Island in the Sky is the easiest district to access and is perfect for families or those looking for shorter hikes. The district is then split into two: the mesa top and the White Rim Road, which takes you to the bottom of the canyon.
The Needles is more remote and has longer, more challenging hikes. It’s also less crowded.
The Maze is the least visited district as well as the most remote. There aren’t many maintained trails in this district. Instead, hikers rely on their wayfinding skills. Overnight hikes and trips require backcountry permits.
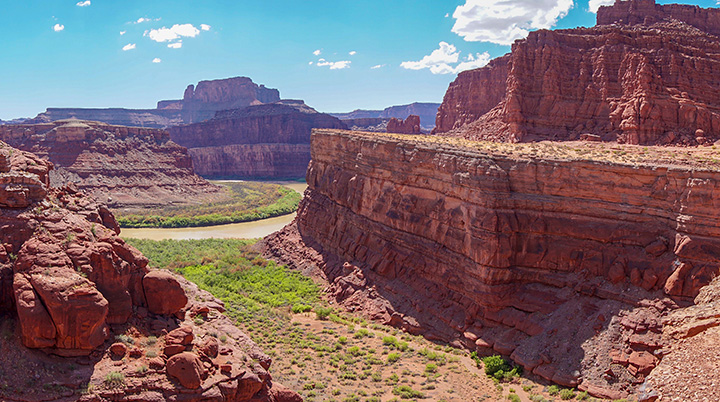
The Colorado and Green River district is best explored by water. You’ll see the canyon from below as you float your way on one of the two rivers that carved it.
Lastly, Horseshoe Canyon is the smallest district. Its main draw is rock art left by Puebloan ancestors. The most popular feature is known as The Great Wall. This district is the farthest from Moab, closer to Glen Canyon National Recreation Area and Capitol Reef National Park.
In this Canyonlands hiking guide, we will focus on the Island in the Sky and The Needles as these are the districts with the most developed trails.
No matter what your hiking experience or fitness level, there’s a hike for you in Canyonlands National Park!
How to Get to Canyonlands National Park

The closest airports to Canyonlands National Park include Canyonlands Regional in Moab, Grand Junction, Salt Lake City, Denver, and Las Vegas. You can take an epic American Southwest road trip from any of these origin points.
Here are some distances to Moab from nearby airports, Canyonlands National Park districts, and other national parks in Utah to help you plan.
- Island in the Sky to Moab: 40 minutes, 32 miles
- The Needles to Moab: 1.5 hours, 74 miles
- Grand Junction Airport to Moab: 2 hours, 114 miles
- Capitol Reef National Park to Moab: 2 hours, 137 miles
- Horseshoe Canyon to Moab: 4 hours, 161 miles
- Salt Lake City Airport to Moab: 4 hours, 239 miles
- Bryce Canyon National Park to Moab: 4 hours, 248 miles
- Zion National Park to Moab: 5 hours, 314 miles
- The Maze to Moab: 5.5 hours, 162 miles
- Denver Airport to Moab: 6 hours, 377 miles
- Las Vegas Airport to Moab: 7 hours, 464 miles
If you’re planning a road trip, don’t forget to read our Utah National Parks itinerary!
Once you arrive in Utah, we highly recommend renting a car. This is the best way to see the Mighty Five: Arches, Canyonlands, Capitol Reef, Bryce Canyon, and Zion. It’s also the best way to get around Canyonlands National Park.
Island in the Sky is the easiest area to access as it’s only about 40 minutes from Moab. The Needles District is also easy to access, but more remote, which leads to longer driving times. The Maze and Horseshoe Canyon are the most difficult area to access, particularly if you don’t have a 4-wheel drive vehicle.
Park Entrance Fee
There is a $30 per vehicle fee to enter Canyonlands National Park. The same permit is $25 per motorcycle and $15 per person (on foot or by bicycle).
This fee covers visitors for seven days and allows you access to each of the districts.
In order to save money, I would recommend purchasing a national parks pass. These cost $80 and are valid for a full calendar year (from the date of purchase) at all public lands in the United States. After you visit 3 national parks, it’ll have paid for itself. It also makes a great gift for national park enthusiasts! Learn more about park entry fees.

When to Visit Canyonlands National Park
Spring or fall are the best times to visit Canyonlands. You’ll have milder temperatures for ideal hiking weather. March and November are perfect for avoiding crowds.
Summer is hot and dry, making hikes more difficult. It’s also monsoon season.
Winter can see snowfall, which makes some trails and roads impassable. It’s a perfect season to visit if you want to avoid crowds and don’t mind reduced services, closures, or cold temperatures.
Check the park’s website for up-to-date conditions before you go.
Traveling to Canyonlands with Pets
According to the National Park Service, leashed pets are allowed:
- along front-country roads or parking areas
- in front-country campgrounds and picnic areas
- in your vehicle on the Potash/Shafer Canyon road between Moab and Island in the Sky
Pets are not allowed:
- on any hiking trails even if carried
- at any overlooks
- in the visitor center or any building
- anywhere in the backcountry (including vehicles on backcountry roads, and on any river trips)
Pets include emotional support animals and service animals in training.
Service animals, however, may accompany their owners anywhere the park doesn’t have specific restrictions for your animal’s safety. NPS policy defines a service animal as a dog that has been individually trained to do work or perform tasks for the benefit of an individual with a disability, including a physical, sensory, psychiatric, intellectual, or other mental disability. The tasks performed by the animal must be directly related to the person’s disability.
Where to Stay Near Canyonlands National Park
There are no lodges or hotels in Canyonlands National Park. The closest accommodations are in the town of Moab, about 30 minutes away from Island in the Sky.
If you’re not into camping, there are also several hotels and motels in Moab. Book a room at the links below.
River Canyon Lodge | Hotel Moab Downtown | Comfort Suites | Lazy Lizard Hostel | Bown Motel
There are also several camping options within the park, depending on which district you’re visiting.
Island in the Sky has one developed campground – Willow Flat Campground. Backcountry camping is also allowed.
The Needles also has one developed campground – The Needles Campground. There are also several backcountry camping sites.
There are no developed campgrounds in The Maze, but there are backcountry camping sites.
Permits are required for all overnight hikes and backcountry camping.
11 Tips for Hiking in Canyonlands National Park
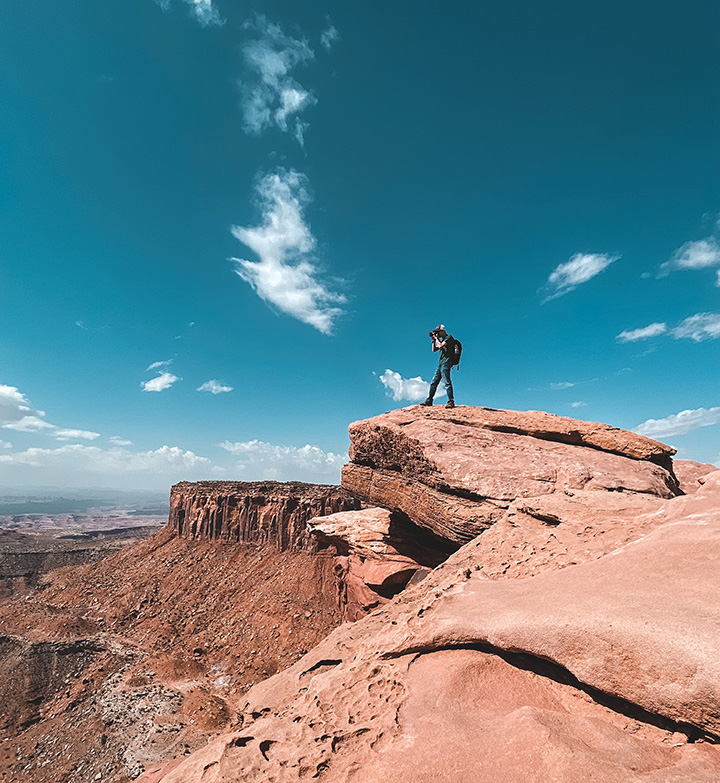
- Start your hike early. This is especially important in the summer when temperatures can get very hot.
- Wear sunscreen and a hat. The sun is intense in Canyonlands, so make sure to protect yourself from UV rays. Most hikes in Canyonlands National Park offer no shade.
- Bring plenty of water and stay hydrated. It’s always important to stay hydrated while hiking, but it’s especially important in a desert climate. The National Park Service recommends one gallon of water per person per day.
- Wear proper shoes. Make sure you have closed-toe shoes with good tread. Hiking boots are always a good choice.
- Be aware of your surroundings. This is important for hikes in any area, but especially here where you won’t find many wayfinding signs. Pay attention to cairns (stacks of rocks) that mark the way.
- Check the weather conditions before you go. Be prepared for all types of weather.
- Dress in layers. This will help you stay prepared for weather changes and avoid dangerous conditions like hypothermia.
- Bring a paper map with you. Cell reception is extremely limited and you should not rely on mobile devices. If necessary, download any maps before you arrive.
- Bring snacks and a first aid kit. In this instance, it’s best to over-pack. There are no food services anywhere within Canyonlands National Park.
- Pack out your trash. There’s nothing worse than stumbling upon litter in a national park.
- Leave No Trace! Climbing arches or disturbing historic sites is strictly prohibited in the park.
When visiting our national parks and public lands, please practice Leave No Trace principles. Plan ahead, choose durable surfaces for camping or hiking, dispose of all waste properly, leave everything you find, minimize campfire impacts, respect wildlife, and be considerate of other park visitors.
What to Pack for Hiking in Canyonlands National Park

Finally, and we can’t stress this enough, pack wisely for this trip. By respecting this environment, you will in turn respect yourself. Keep yourself safe and comfortable to enjoy this national park to its fullest!
- Hiking boots: Shoes that are good for hiking and have ankle support.
- Sunscreen: The UV rays in national parks can be intense, even on cloudy days.
- Bug spray: There are a lot of bugs in the park, especially near water sources.
- Yaktrax: Helpful for snowy conditions.
- Rain gear: The weather can change quickly, no matter the time of year or location. Bring a raincoat and/or umbrella just in case!
- Layers: Temperatures can fluctuate a lot, so it’s best to dress in layers.
- Snacks: There are limited food options inside the park, so bring your own snacks!
- Camera: You’ll want to capture the beauty of your national park in photos!
- Water bottle: Stay hydrated while hiking around the park!
- Hat: You’ll need protection from the sun and bugs.
- Binoculars: Bring binoculars if you want to view wildlife in the park.
- First-aid kit: You never know if you might get a cut or scrape while hiking.
- Flashlight: This is helpful for late-night hikes and stargazing!
- Map: Bring a physical map for navigating the park.

Utah National Parks Map Pack: Arches, Bryce Canyon, Canyonlands, Capitol Reef, Zion

Canyonlands National Park Map Pack: Island in the Sky, Needles, and The Maze

Canyonlands National Park Pennant

Fodor’s Guide to the 63 National Parks

Women’s National Parks Checklist T-Shirt

Women’s National Parks Checklist T-Shirt

Map of National Parks T-Shirt

Canyonlands National Park Sticker

Canyonlands National Park Pin

Canyonlands National Park Patch

63 National Parks Water Bottle

Canyonlands National Park Sticker

Canyonlands Scrapbooking Kit
The Best Canyonlands Hikes in Island in the Sky
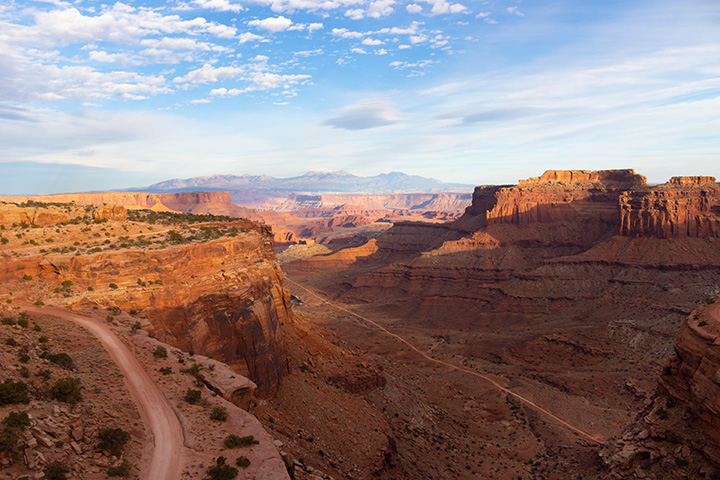
The Island in the Sky district is the easiest to access and has hikes that range from easy to strenuous. These Island in the Sky hikes are organized from easiest and shortest to most difficult.
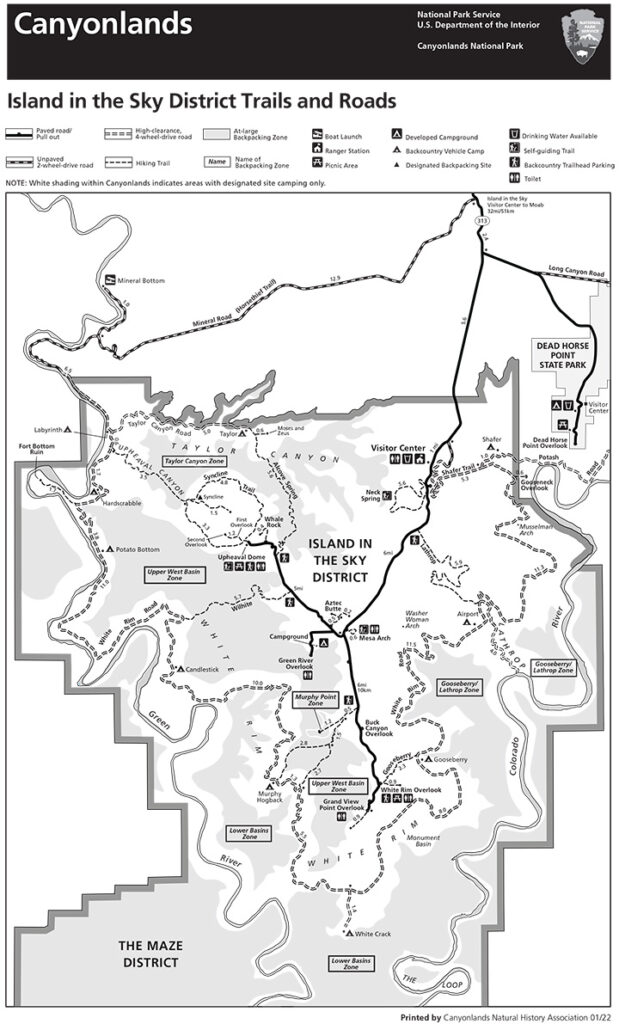
You can click on the map of the Island in the Sky trails below to enlarge it and download it.
Mesa Arch
Difficulty: Easy
Distance (roundtrip): 0.5 miles / 0.8 km
Elevation Change: 88 feet / 27 m
Time to Allow: 30 minutes
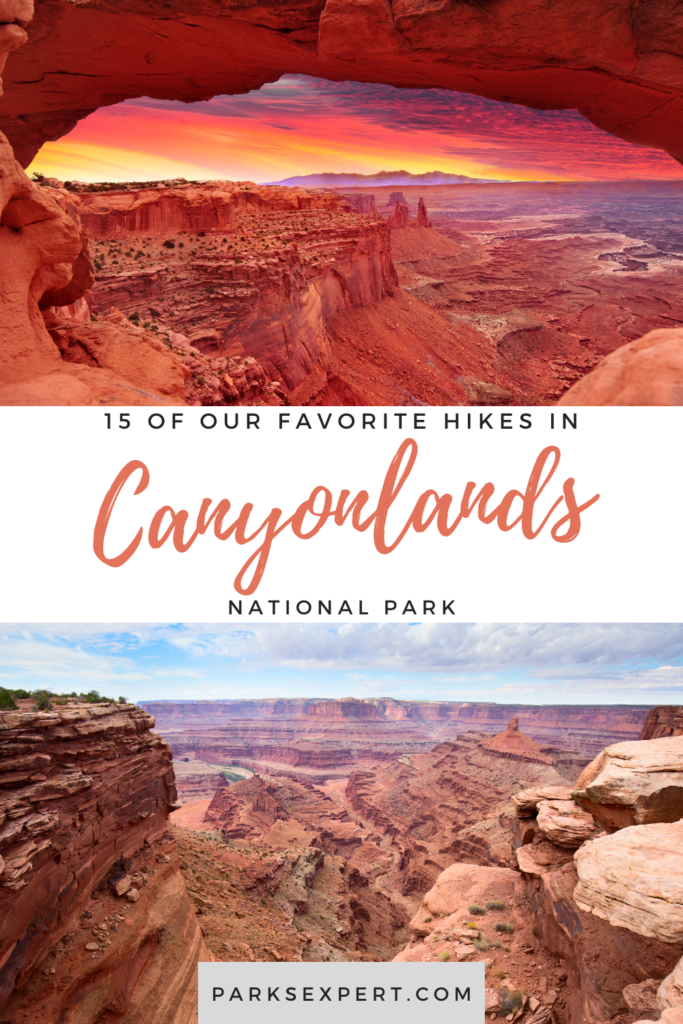
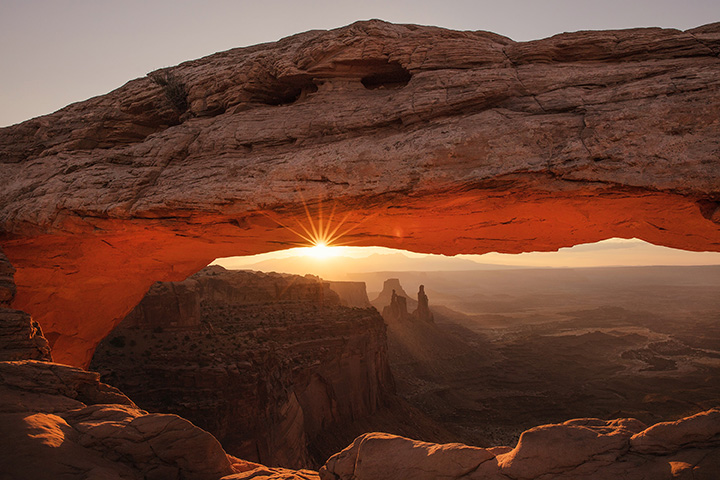
Mesa Arch is arguably the most photographed site in all of Canyonlands National Park.
Honestly, the arch couldn’t be in a more perfect position if someone had placed it manually. It frames the La Sal Mountains and canyon scenery like you wouldn’t believe.
Because of this, it is an extremely popular and busy location. No matter what time of day you visit, don’t expect to have this view to yourself. In fact, most of the time there is a line for photographs.
Along the short hike, signs detail interesting facts about the vegetation.
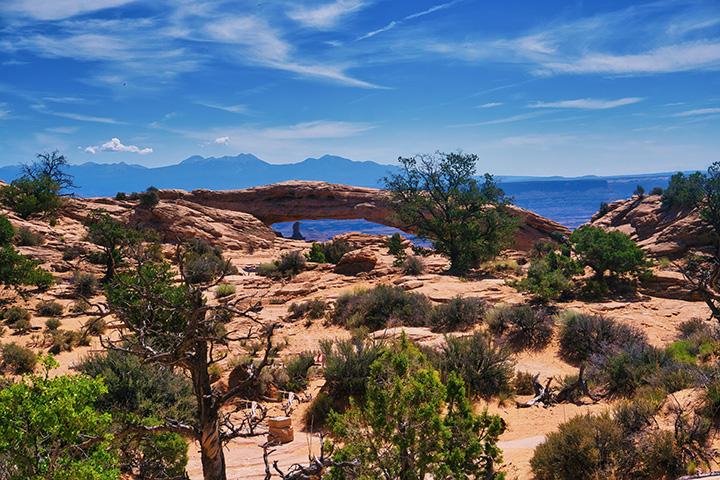
This is an extremely popular location for sunrise. Photographers will flock here early in the morning to watch the sun peek over the rim.
Even if you aren’t an early riser, it’s a spectacular hike with rewarding views. If you’re hoping to photograph the sunrise, I’d plan to arrive early to claim your spot.
Peer through the arch with caution – there’s a very steep dropoff on the other side!
White Rim Overlook
Difficulty: Easy
Distance (roundtrip): 1.8 miles / 2.8 km
Elevation Change: 160 feet / 49 m
Time to Allow: 1.5 hours
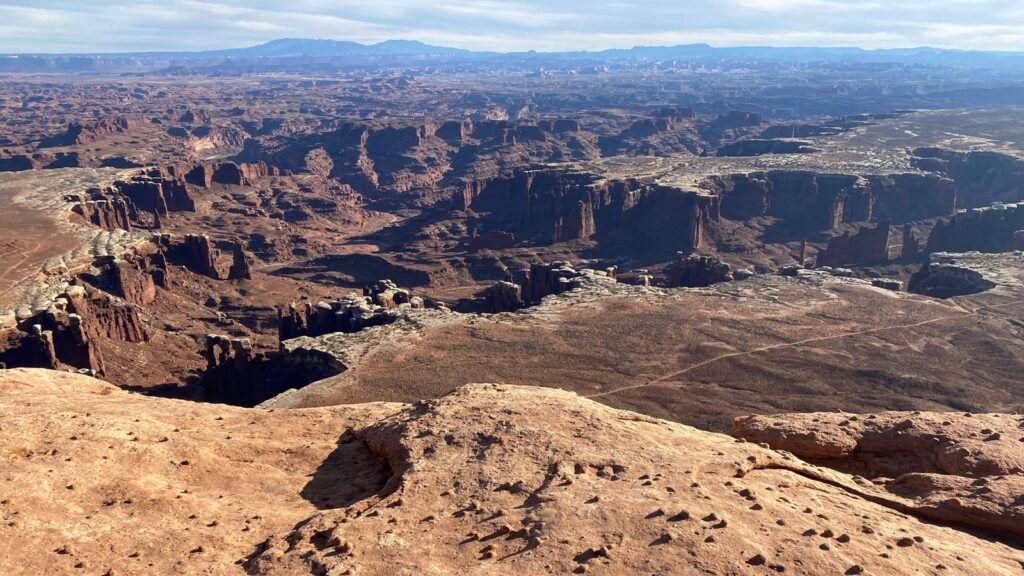
If you’re short on time, this is one of the best easy hikes in Canyonlands National Park for sweeping views.
There are actually two options here: the simple walk to the immediate overlook, or following the cairns to the end of the point. If you can do it, the long walk is worth the extra time.
From this overlook, you get a glimpse of the Colorado River, the La Sal Mountains, the Monument Basin, and the White Rim Road.
The trail begins at the Gooseberry Trailhead just beyond the picnic area. Turn left at the junction for the overlook and right for Buck Canyon, a more strenuous hike below the rim. Stacked cairns will help guide your way.
Light is best in the late afternoon when the sun is behind you. Not only is it then out of your eyes, but it also illuminates the canyon in bright reds and oranges.
Looking below, cars will look minuscule as they traverse the White Rim Road. You’ll be in awe of how large this canyon is, and just how small you are.
Grand View Point
Difficulty: Easy
Distance (roundtrip): 2 miles / 3.2 km
Elevation Change: 160 feet / 49 m
Time to Allow: 1.5 hours
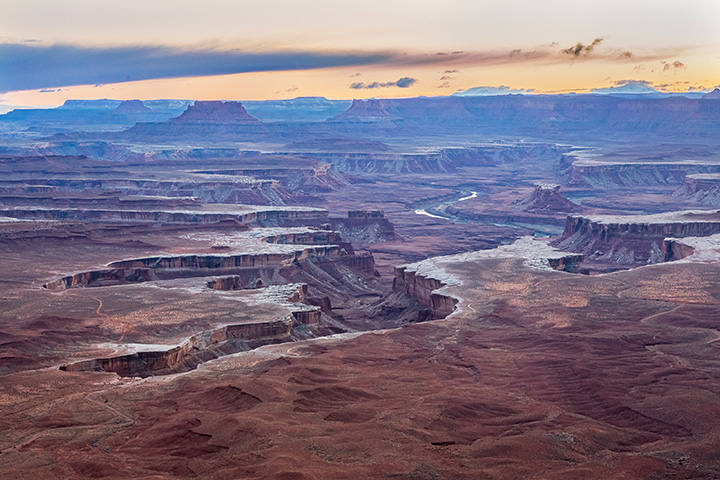
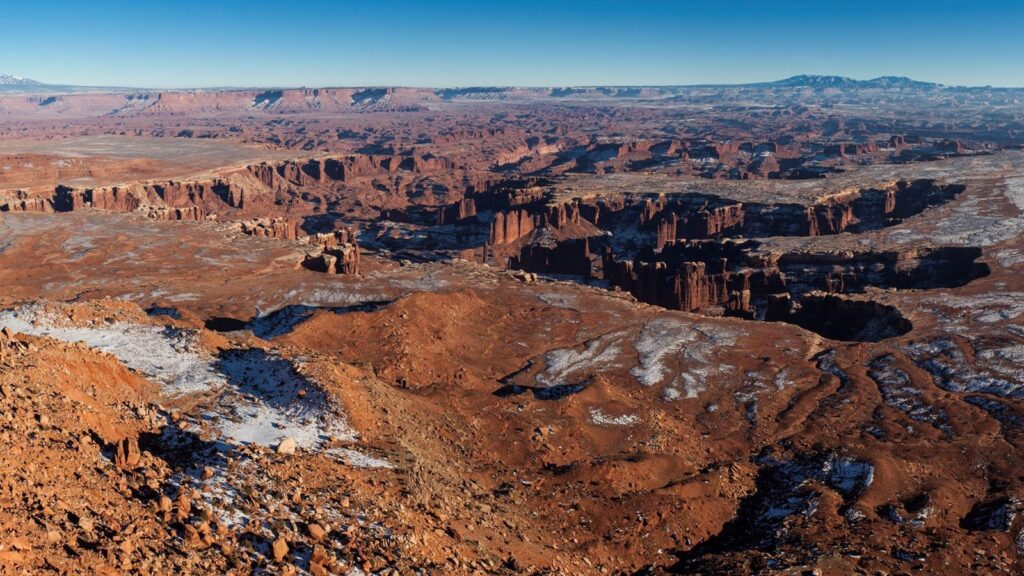
This trail will follow the canyon rim for spectacular panoramic views. Below, you’ll see the two rivers that carved the canyon: Colorado and Green.
This trail offers some of the best views in Canyonlands. The path is also paved, making it accessible for wheelchairs and strollers.
This hike is a great option for watching the sunset. The canyon walls will erupt in a bright red hue guaranteed to take your breath away.
If you don’t have time for the full hike, you can also stop at the Grand View Point Overlook. Find both at the end of the aptly named Grand View Road.
Murphy Point
Difficulty: Easy
Distance (roundtrip): 3.6 miles / 5.8 km
Elevation Change: 147 feet / 45 m
Time to Allow: 2 hours
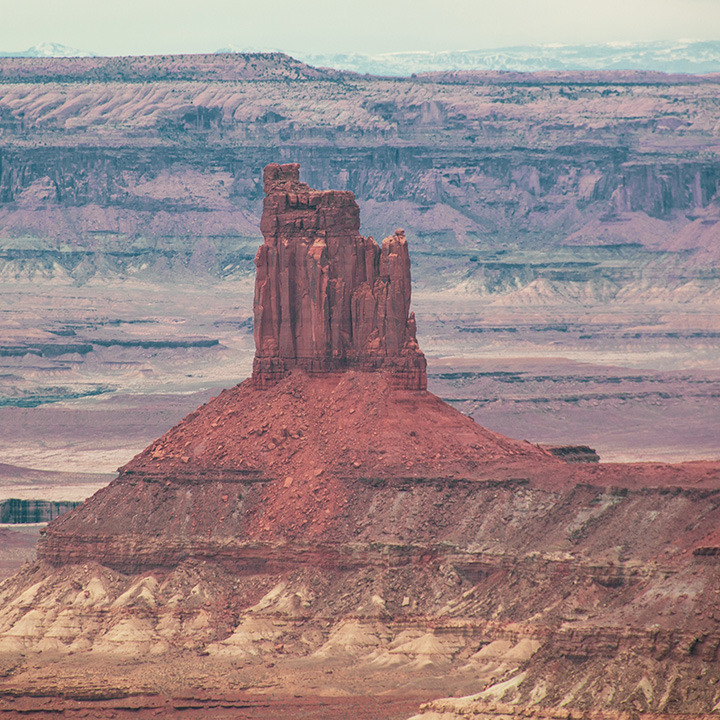
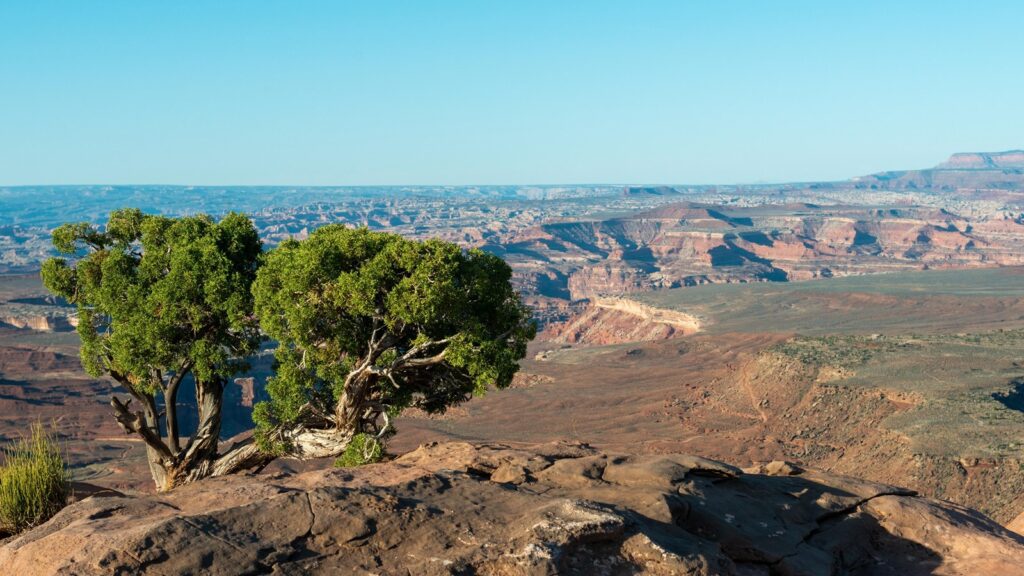
On the longer side, Murphy Point takes hikers to stunning views of the Candlestick Tower and the Green River. You’ll also overlook White Rim Road.
This hike is a great option for sunset thanks to its easy terrain. Bring a headlamp and you’ll be able to make your way back to the parking lot without trouble.
Upheaval Dome
Difficulty: Moderate
Distance (roundtrip): 1 mile / 1.5 km
Elevation Change: 100 feet / 30 m
Time to Allow: 30 minutes
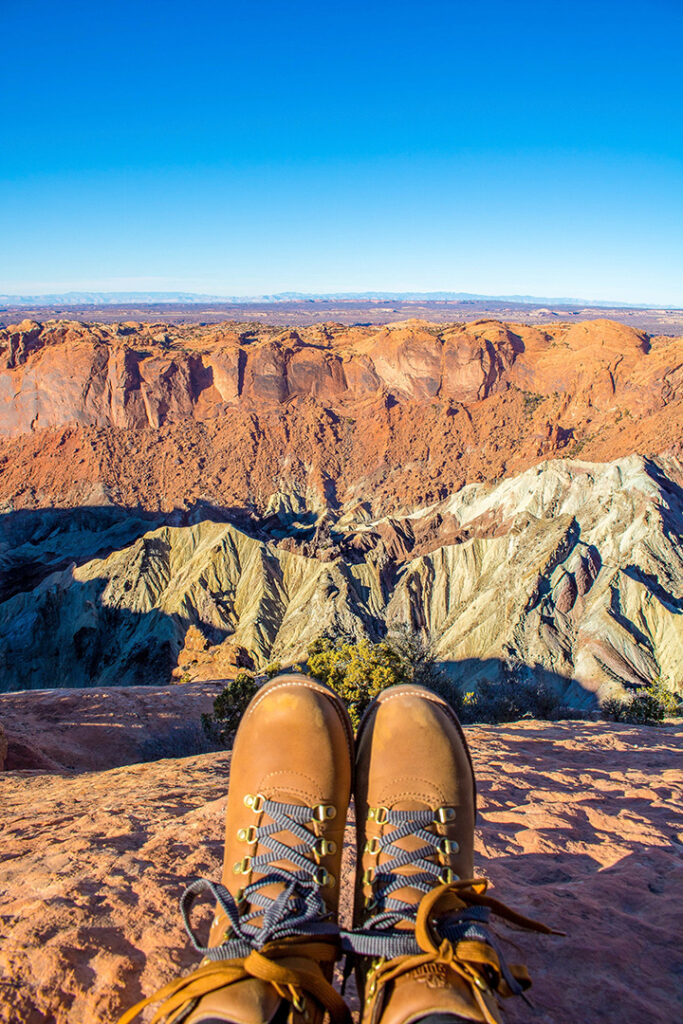
At this point, you might be thinking, “How many times can I look at the same canyon and be surprised?” I present to you, Upheaval Dome.
Of all the moderate hikes in Canyonlands, Upheaval Dome is the most popular. It’s also incredibly unique and relatively accessible.
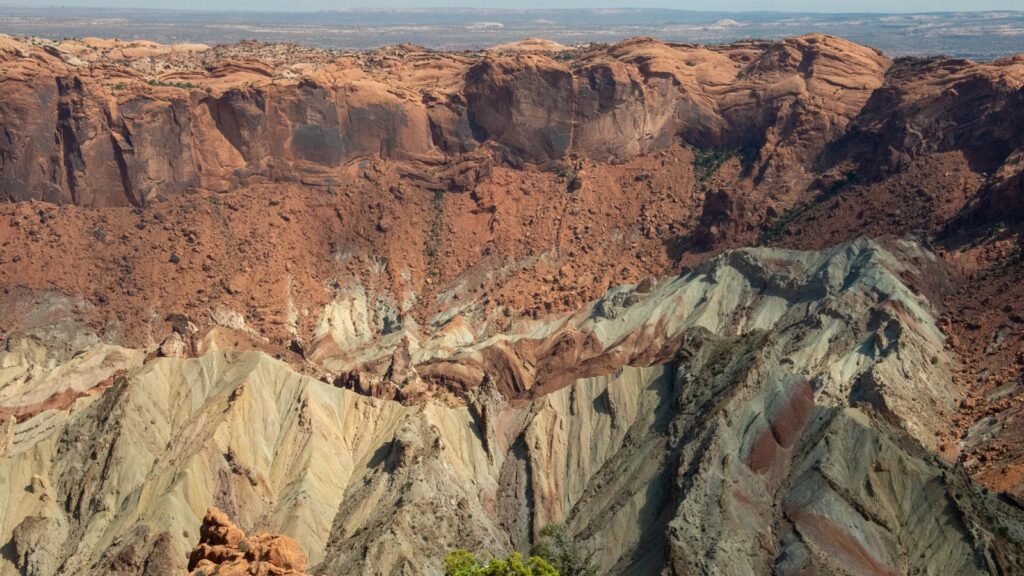
How are rocks seemingly growing out of a crater? Great question. Upheaval Dome is actually a geologic mystery.
The most popular theories behind its creation include a slow-moving salt dome pushing its way through soft sandstone or a meteor strike with some erosion thrown in the mix. The truth may never be revealed.
You can extend this hike by walking to the second overlook. This adds 1 mile (1.5 km) and 50 feet (15 m) of elevation change to the trip. This is worth it as the views over the canyons and the dome are better.
Whale Rock
Difficulty: Moderate
Distance (roundtrip): 1 mile / 1.6 km
Elevation Change: 100 feet / 30 m
Time to Allow: 1 hour
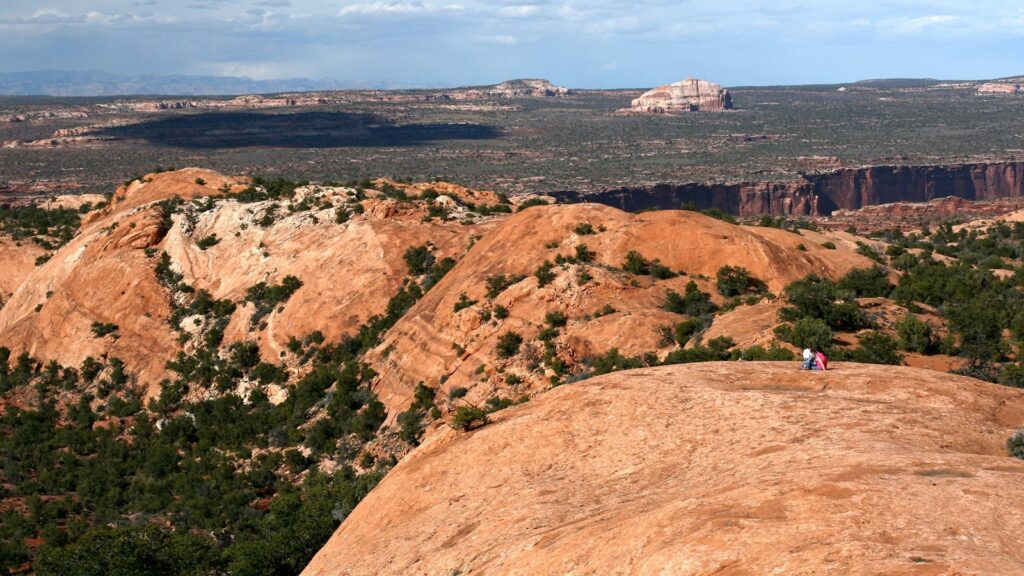
From Upheaval Dome, the hike to Whale Rock is a great bang for your buck. It’s short, but it’ll get you out of the car to a rewarding view.
From the viewpoint, you can see both rivers and you’ll have an incredible view of the Island in the Sky district.
Many believe the rock featured at the trail’s end resembles a whale, but we personally don’t see it. Is it still a spectacular view? Absolutely!
This is a great option for families as it’s a pretty straightforward trail. The kids will also thoroughly enjoy the short rock scrambles required. Don’t worry, some handrails are in place to assist. There are some drop-offs, so if you do bring smaller children, be sure to watch them closely.
We included this hike because of its popularity, but we’d focus on other hikes if we had the chance. It’s not one of our favorites.
Aztec Butte
Difficulty: Moderate
Distance (roundtrip): 2 miles / 3 km
Elevation Change: 225 feet / 68 m
Time to Allow: 1.5 hours
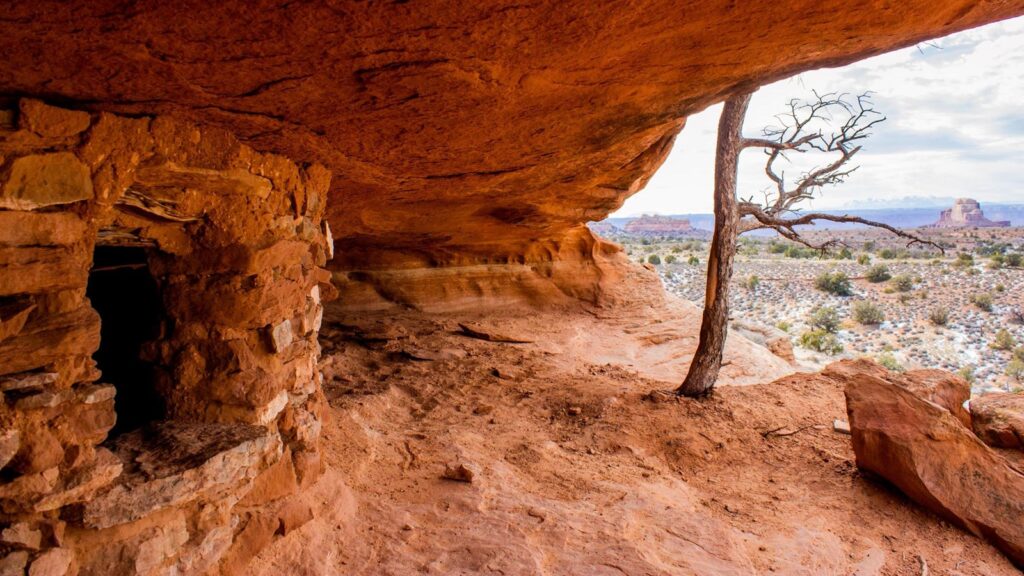
This trail is pretty challenging due to its sandy terrain. But, it’s a great hike for anyone interested in the park’s cultural history.
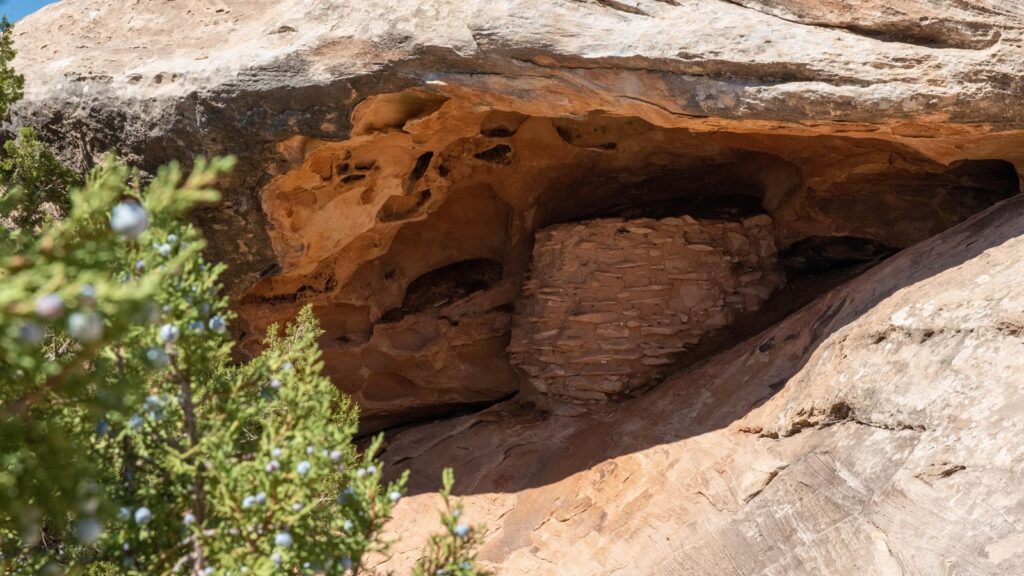
As the name suggests, this trail leads to Puebloan ruins. Specifically, you’ll find food storage structures (also known as granaries or storehouses) along the way. These are easy to miss, so read the signs.
In addition to sandy hiking, the trail also requires some rock scrambling. While the trail length is relatively short, the scrambling is what makes it a more moderate trail.
The views of Taylor Canyon will keep you motivated as you pace yourself up the steep climbs. Don’t forget to pause and take in the rewarding view from the top. You earned it!
Neck Spring
Difficulty: Moderate
Distance (roundtrip): 5.8 miles / 9.3 km
Elevation Change: 300 feet / 91 m
Time to Allow: 3-4 hours
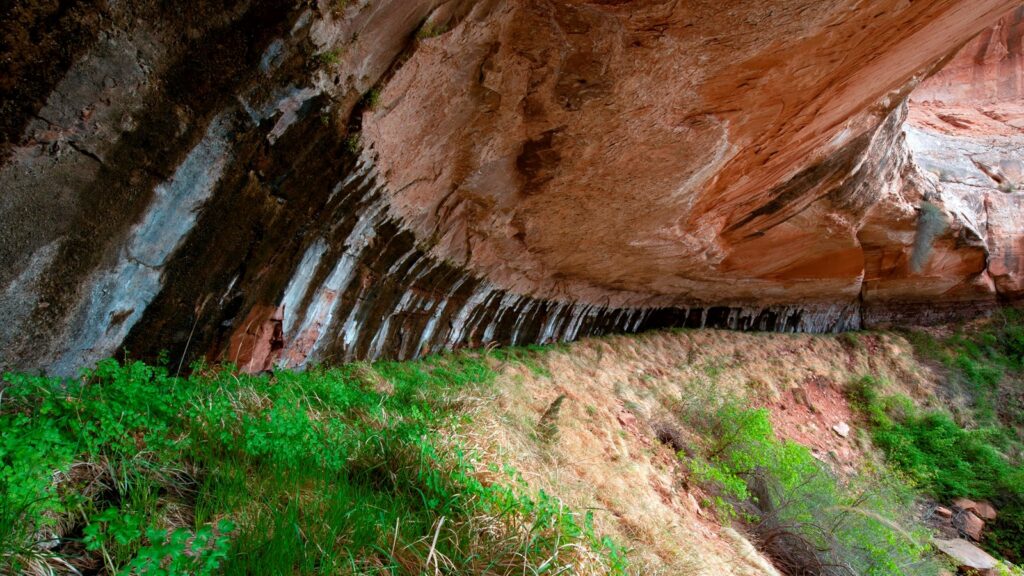
This is another great option if you’re looking for longer hikes in Canyonlands National Park. It’ll certainly help you escape some of the crowds!
If there’s been recent rainfall, there may even be a water source on this trail. This made it a popular farming site, and if you hike the trail you’ll see some remnants of this past.
There’s some scrambling, so make sure your hiking boots have good tread.
Gooseberry Canyon

Difficulty: Strenuous
Distance (roundtrip): 5.4 miles / 8.6 km
Elevation Change: 1,400 feet / 427 m
Time to Allow: 4-6 hours
This is the steepest trail in Canyonlands National Park, so only hike if you’re ready for a strenuous climb.
It also includes loose scree and terrain, so only hike this physically demanding trail if you are prepared. Hiking boots with excellent tread are a must!
Partnering with your adrenaline rush will be the expansive canyon views you enjoy along the way.
Syncline Loop
Difficulty: Strenuous
Distance (roundtrip): 8.3 miles / 13.3 km
Elevation Change: 1,300 feet / 396 m
Time to Allow: 5-7 hours
Note: More rescues occur on this trail than any other. Only hike if you are prepared for the challenge.
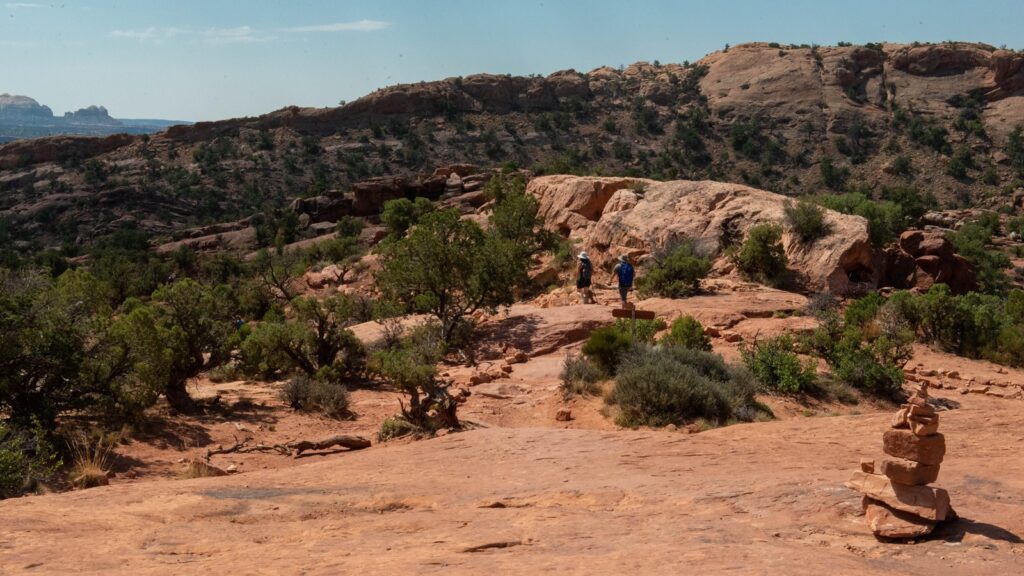
Anyone especially intrigued by the Upheaval Dome will really enjoy this trail as it takes you through the canyons that surround the dome.
However, this is arguably the most challenging hike in Island in the Sky.
Because the hike is so difficult, it’s also poorly maintained, which has earned the trail a “primitive” label by some.
You’ll begin at Upheaval Dome before traversing a series of steep switchbacks. You’ll also scramble through some boulder fields. This is the perfect trail for any prepared adventure junkie seeking an adrenaline rush.
Clockwise is the best way to hike the trail. This way, you begin with a steep descent instead of a strenuous ascent at the end of your hike. You’ll also have a bit more shade in the afternoon.
The trail features warning signs before the most strenuous elements begin. Take them seriously and turn around if you are not prepared. Don’t forget your water and first aid kit on this trek.
The Best Canyonlands Trails in The Needles
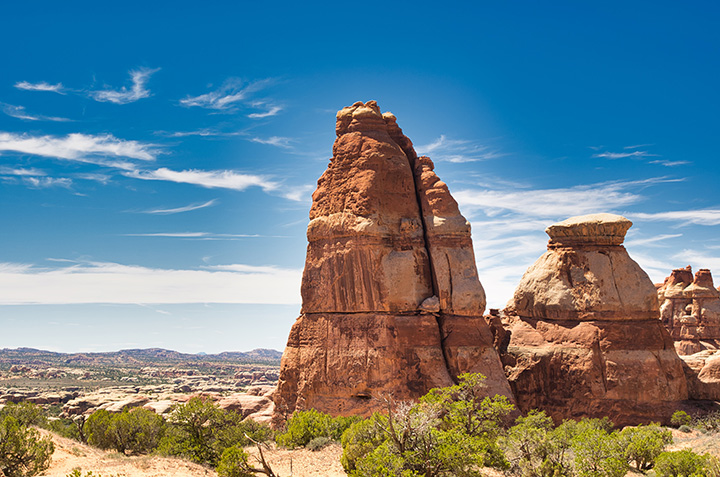
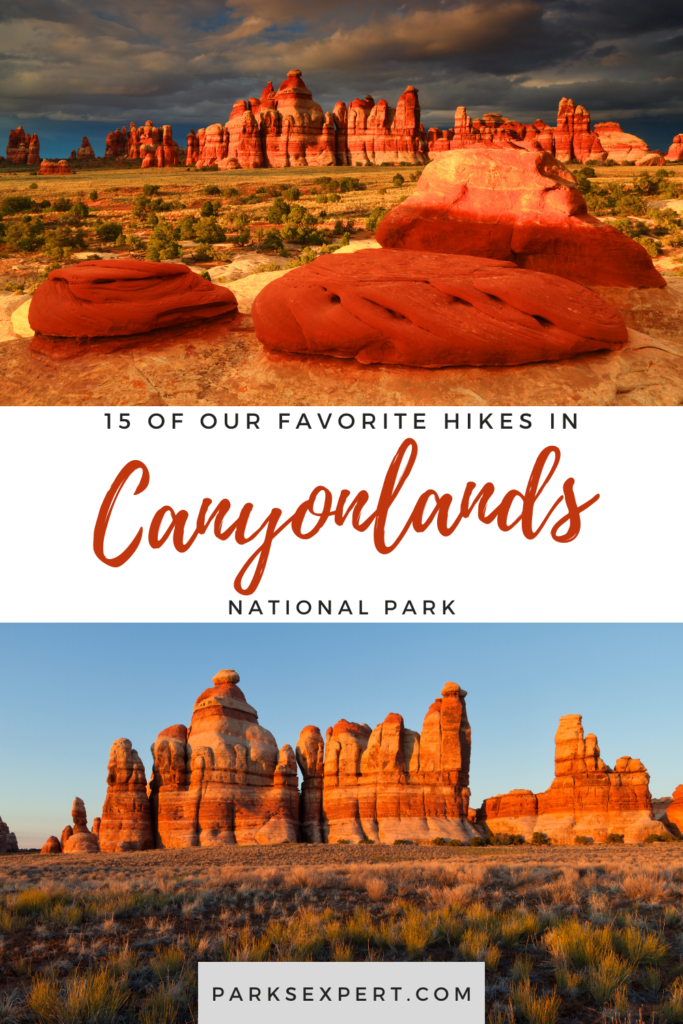
The Needles district could have been called the maze with its network of interconnecting trails. While many itineraries and loops are possible, we’ll cover the most popular options.
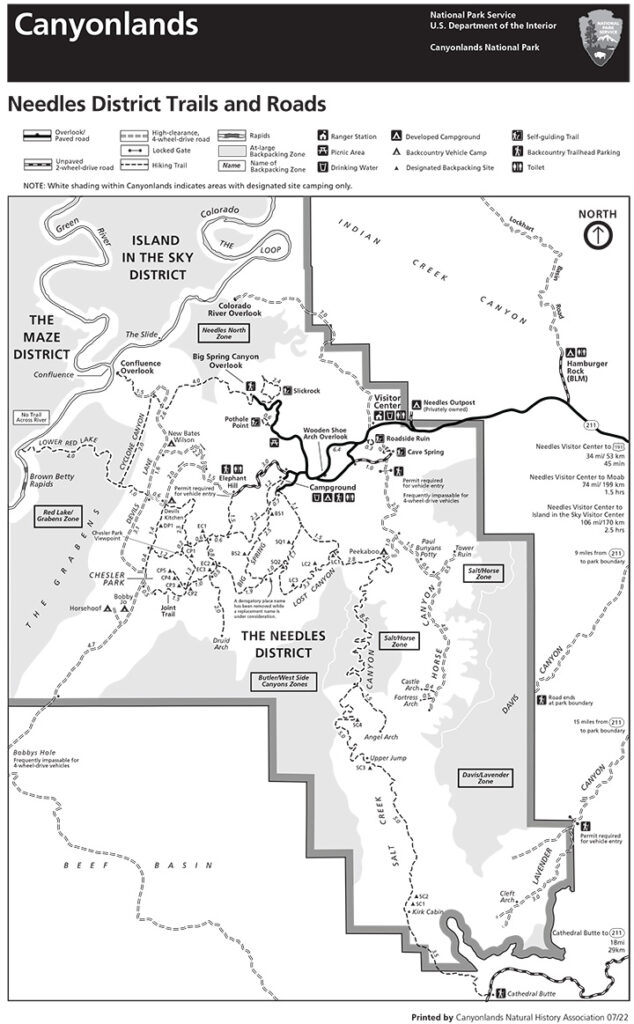
You can click on the Needles hiking map above to enlarge and download it.
Cave Spring
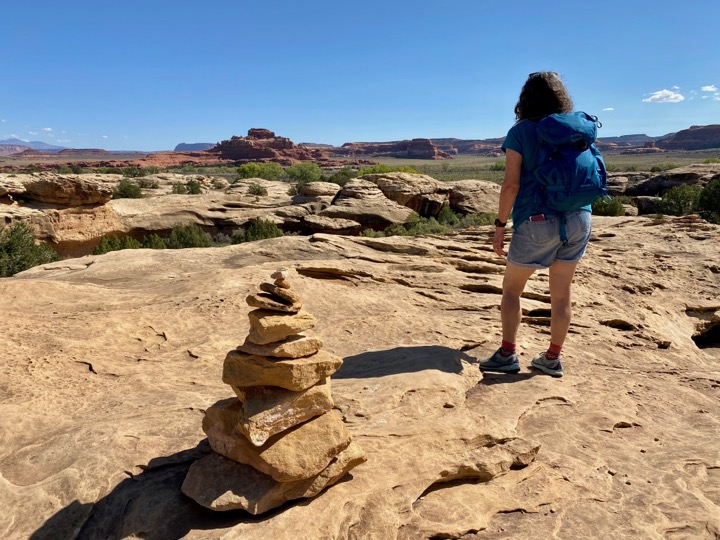
Difficulty: Easy/Moderate
Distance (roundtrip): 2.4 miles / 4 km
Elevation Change: 67 feet / 20 m
Time to Allow: 45 minutes
Of all the trails in The Needles, I think this one is my favorite of the shorter options.
Not only does the trail include a variety of terrain, like ladders to climb and canyons to squeeze through, but you’ll also learn a lot about the park’s history.
There’s also shade on this trail, which is rare to find in the park.
Finally, after climbing one of the ladders, you’ll be at the top of a massive butte and treated to phenomenal views.
Slickrock

Difficulty: Easy/Moderate
Distance (roundtrip): 2.4 miles / 4 km
Elevation Change: 80 feet / 24 m
Time to Allow: 2 hours
This is a great entry-level hike for those who are a bit weary of the more strenuous hikes in Canyonlands National Park. While it is still a bit challenging in places, it’s enough to whet your appetite without forcing you to overdo it.
Those who are short on time but still crave scenic vistas will want to add this trail to their itinerary. Along the way, four overlooks will provide the best photo opportunities.
Some sections are unmarked, so pay close attention to your surroundings.
Confluence Overlook
Difficulty: Strenuous
Distance (roundtrip): 10 miles / 16.5 km
Elevation Change: 309 feet / 94 m
Time to Allow: 5-6 hours
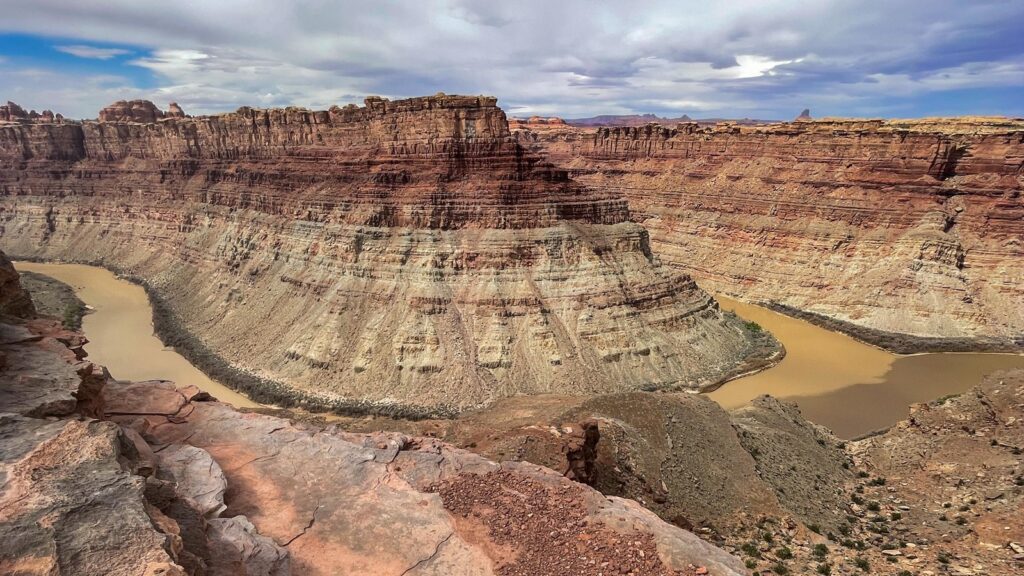
This hike actually leads to many vistas, but the final viewpoint lends its name to the trail as it overlooks the confluence of the Colorado and Green rivers.
Cataract Canyon is a highlight. Here, the pale green colors of the Green River merge with the more tan color of the Colorado River to create unique mixes in the confluence.
Begin this hike at the Big Spring Canyon trailhead.
Chesler Park/Joint Trail
Difficulty: Strenuous
Distance (roundtrip): 11 miles / 18 km
Elevation Change: 615 feet / 187 m
Time to Allow: 5-7 hours
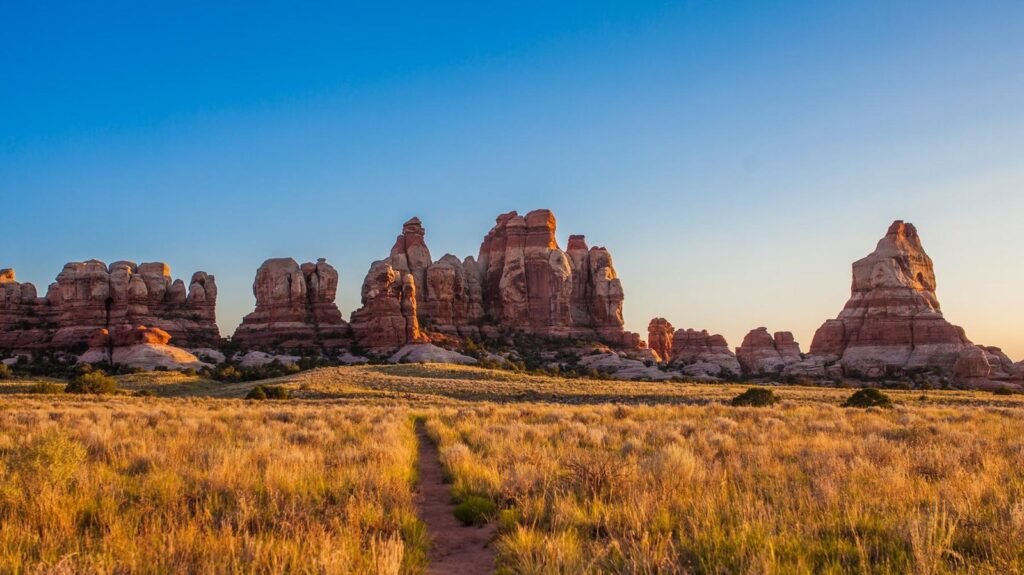
Without a doubt, this is the most popular trail in the Needles. It’s easy to understand why – there’s a large variety in the features you’ll see, including panoramic views of The Needles and narrow slot canyons.
The difficult terrain includes sand, stairs, slickrock, and boulders to traverse. You’ll follow stacks of cairns to stay on the trail.
This trail begins from the Elephant Hill trailhead before merging with the Joint Trail. The road to get here is not paved, so be sure to bring an AWD or 4×4 vehicle with you.
This is also a popular backcountry route with stays at the Chesler Park Campground. Don’t forget your permit!
Druid Arch

Difficulty: Strenuous
Distance (roundtrip): 11 miles / 18 km
Elevation Change: 503 feet / 153 m
Time to Allow: 5-7 hours
Like Chesler Park, this trail begins from Elephant Hill and AWD or 4×4 is required to reach the trailhead.
You’ll follow the same route as Chesler Park above until you split toward the bottom of Elephant Canyon.
The route is challenging with deep sand, loose rocks, rock scrambling, and ladder climbing. There are also sections that are incredibly steep.
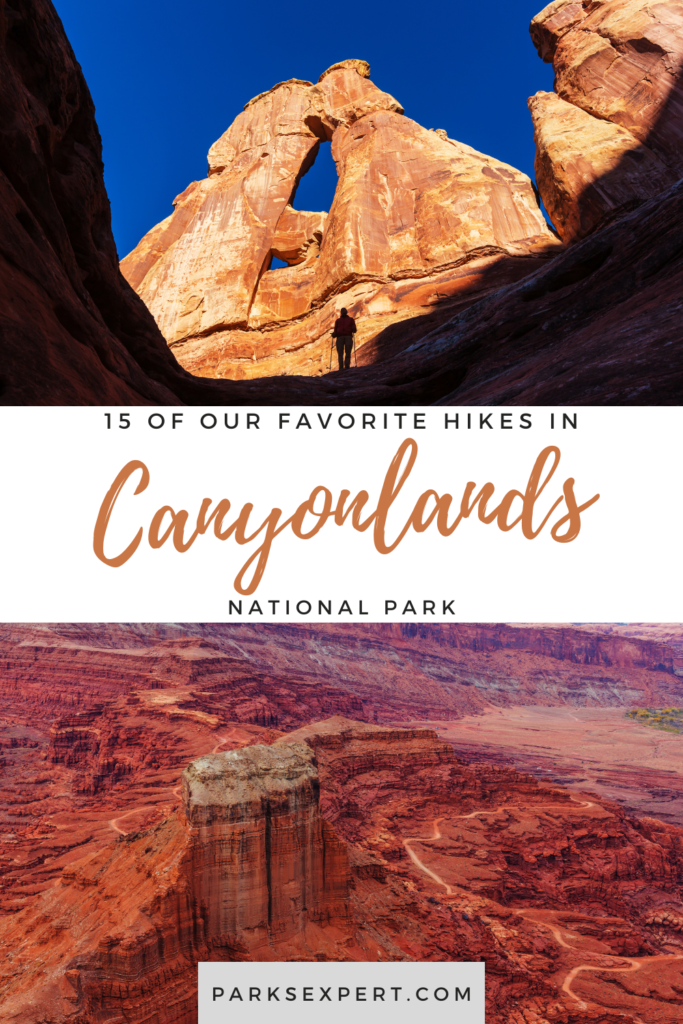
If you’re up for the challenge, the hike to Druid Arch won’t disappoint. It’s one of the most unique formations in Canyonlands National Park and one of the best adventures to embark on.
The interesting Druid Arch has been known as many things. For its resemblance to Stonehenge, many suspect it once served as a temple. Personally, I can’t think of anything but Star Wars when gazing at it.
This primitive trail is marked by cairns, so keep your eyes peeled to avoid getting lost. There are a lot of trail junctions, so it’s easy to get lost – make sure to bring a detailed map with you.
More Hikes in Canyonlands National Park
These hikes didn’t make our list of favorites, but they’re still out there if you’re looking for more options!
Roadside Ruin
Difficulty: Easy
Distance (roundtrip): 0.3 miles / 0.5 km
Time to Allow: 20 minutes
Location: Needles
Gooseneck Overlook
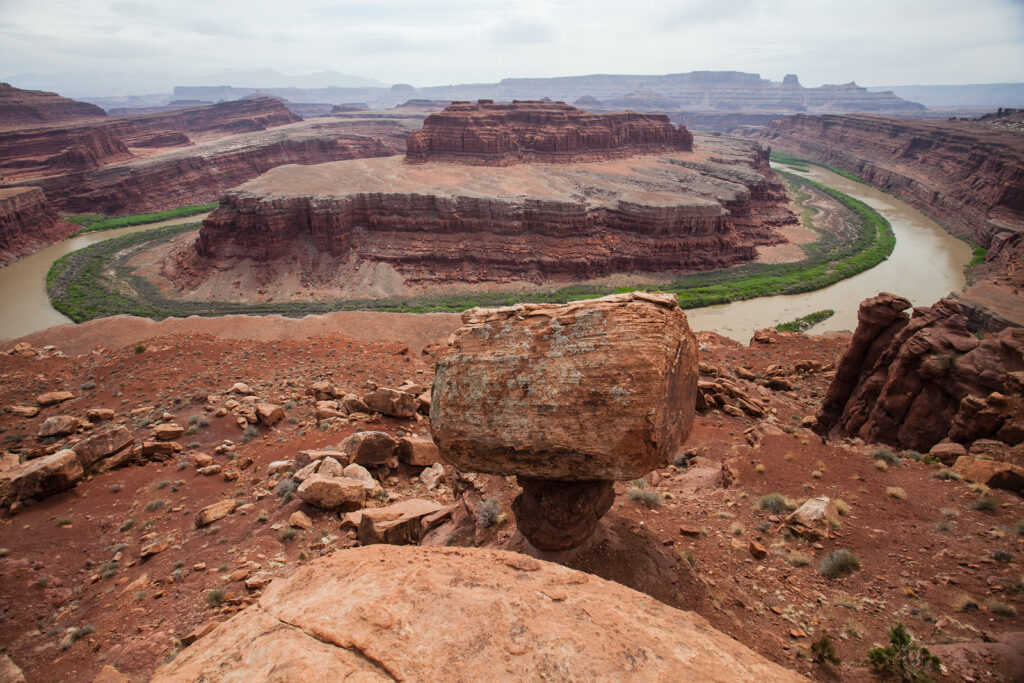
Difficulty: Easy
Distance (roundtrip): 0.6 miles / 1 km
Time to Allow: 30 minutes
Location: White Rim Road
Pothole Point
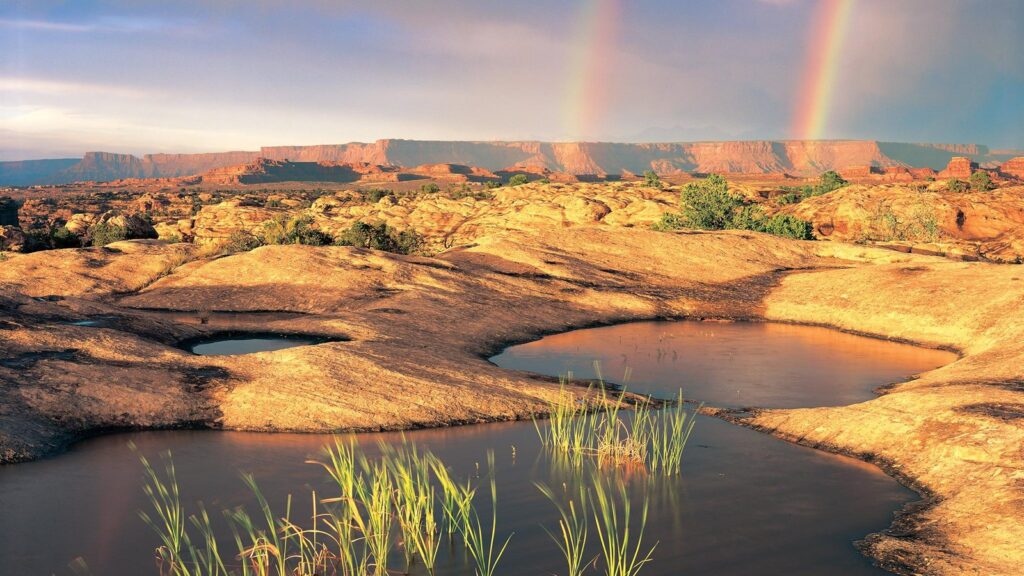
Difficulty: Easy
Distance (roundtrip): 0.6 miles / 1 km
Time to Allow: 40 minutes
Location: Needles
Moses and Zeus

Difficulty: Moderate
Distance (roundtrip): 1 mile / 1.6 km
Elevation Change: 500 feet / 152 m
Time to Allow: 1 hour
Location: White Rim Road
Lathrop Trail
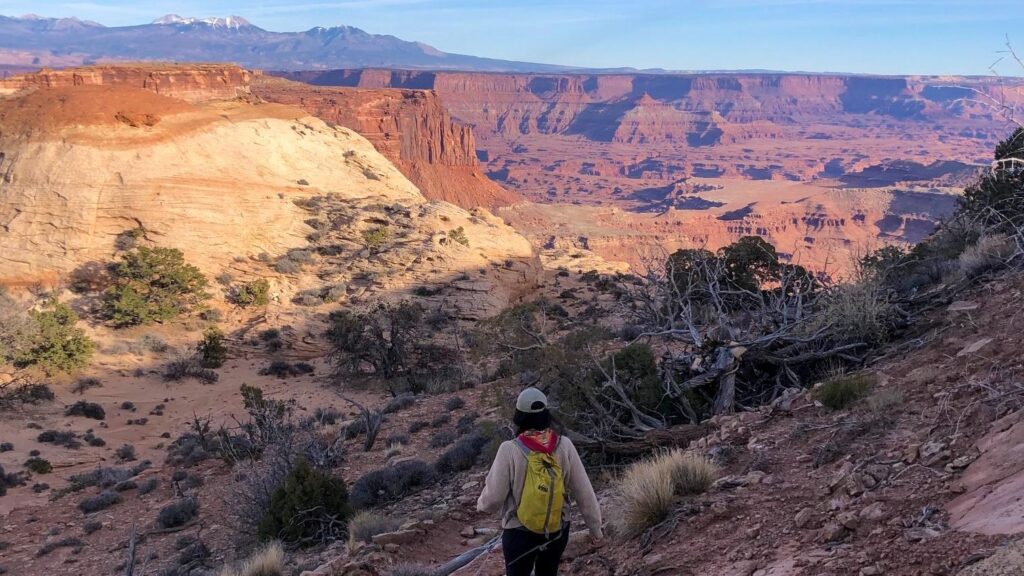
Lathrop To Canyon Rim
Difficulty: Moderate
Distance (roundtrip): 5 miles / 8 km
Time to Allow: 2-3 hours
Location: Island in the Sky
Lathrop to White Rim Road
Difficulty: Strenuous
Distance (roundtrip): 13.6 miles / 22 km
Time to Allow: 5-7 hours
Location: Island in the Sky
Fort Bottom Ruin
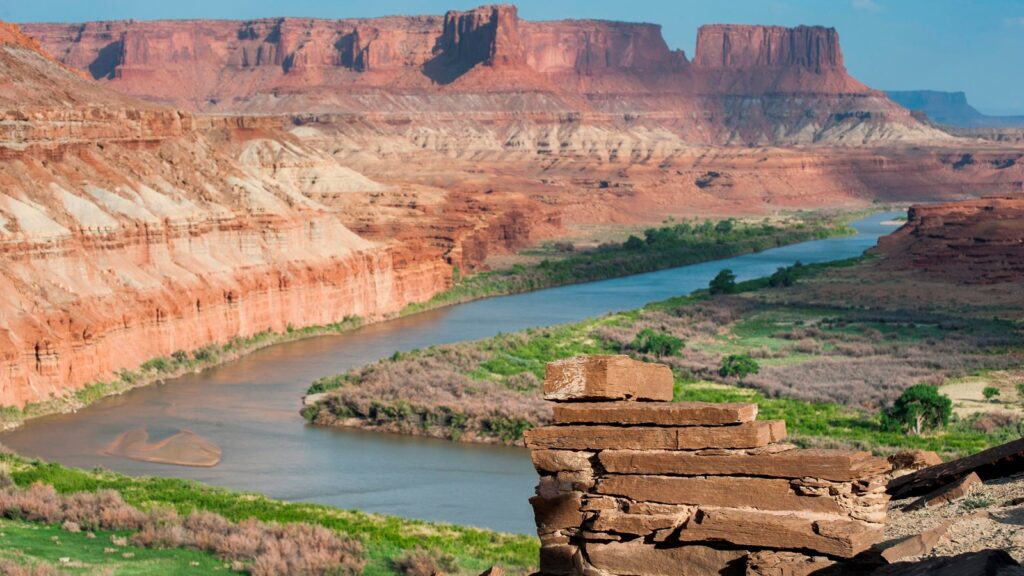
Difficulty: Strenuous
Distance (roundtrip): 3 miles / 4.8 km
Time to Allow: 2 hours
Location: White Rim Road
Peekaboo
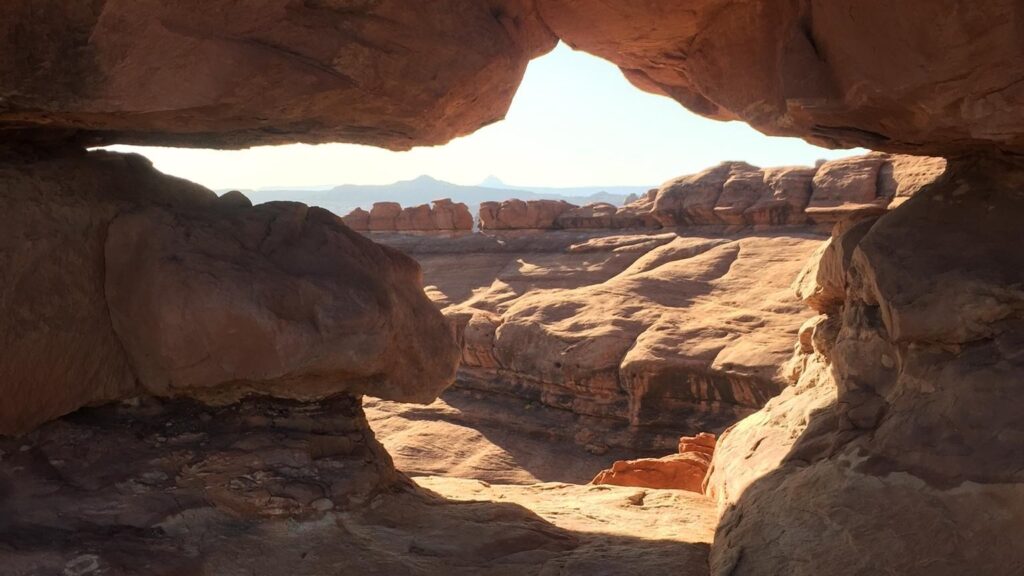
Difficulty: Strenuous
Distance (roundtrip): 10 miles / 16.5 km
Time to Allow: 5-6 hours
Location: Needles
Murphy Loop
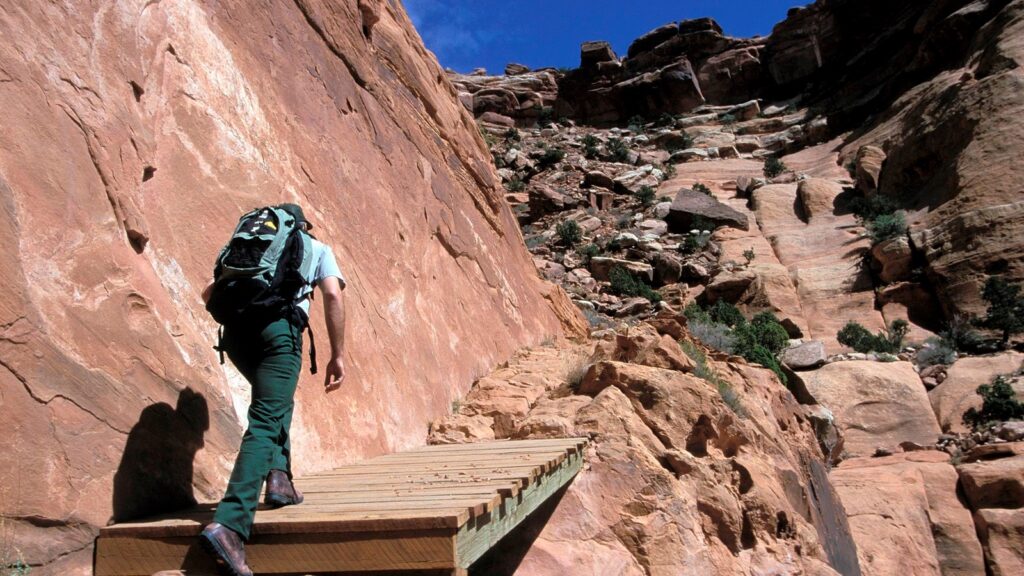
Difficulty: Strenuous
Distance (roundtrip): 10.8 miles / 17.4 km
Elevation Change: 1,400 feet / 427 m
Time to Allow: 5-7 hours
Location: Island in the Sky
Pin the Best Hikes in Canyonlands National Park

Canyonlands National Park is a hiker’s paradise. With so many trails to explore, you could spend weeks in this desert wonderland. We hope this guide has been helpful in planning your next hike! Happy hiking!