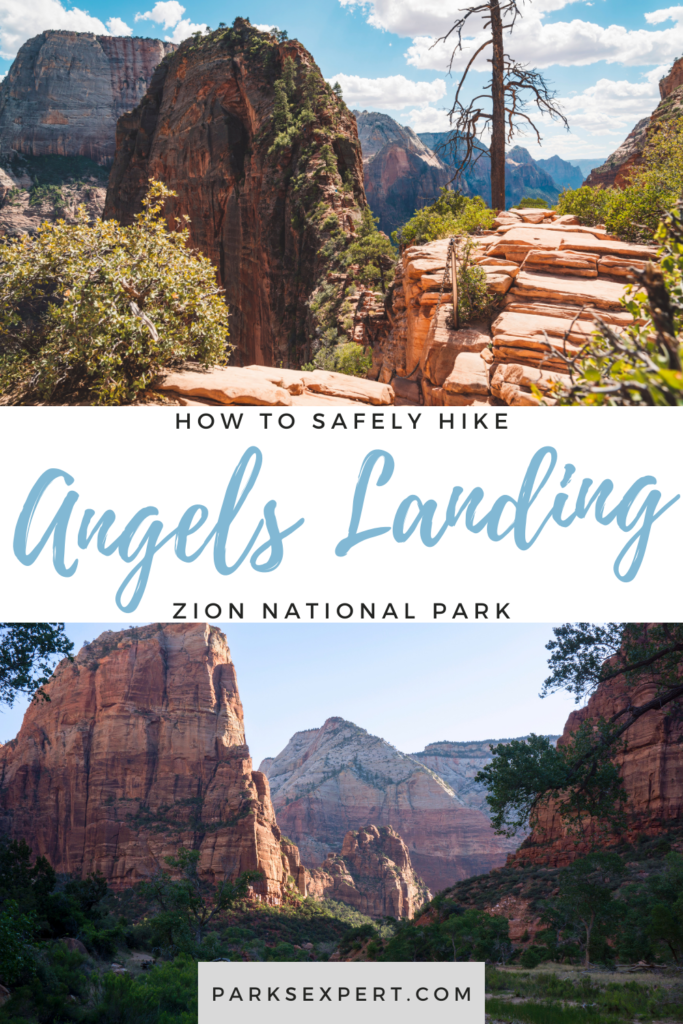
Article Summary: Angels Landing Hike, Hiking Angels Landing in Zion
“It’s a long, hard hike to the top, but it’s worth it.” This is what I told myself as I started my ascent. The most famous hike in Zion, Angels Landing is a 2.7-mile hike that will take you up and down some of the most narrow and precarious ledges in Zion National Park.
You’ll climb 1,500 feet as you traverse narrow ledges and steep switchbacks to reach the summit at 5,790 feet above sea level.
Once you get to the top, there are breathtaking views of Zion Canyon and the Virgin River below. For those looking for a challenge or something different from their average hike, Angels Landing will be a hike you never forget.
In this article, we’ll tell you about the Angels Landing hike, which is one of the park’s most difficult but rewarding trails.
This post may contain affiliate links. If you make a purchase, I may earn a small commission at no additional cost to you. For more information, view my privacy policy.
Table of Contents
Zion National Park Overview
Location: Utah
Gateway Town: Springdale
Best Airport: The closest major airport is Las Vegas. We always find the best flights on Expedia.
Best Time to Visit: Spring and Fall
How to Get Around: Parking is limited, so it’s recommended to take the Zion Shuttle. If you’re planning to drive through the Zion-Mt. Carmel Tunnel, make sure you review the restrictions.
Pets: Pets are only allowed on the Pa’rus Trail. Owners should note that there are cyanobacteria present in park rivers, which is unsafe for animals. Pets are not allowed in park waters.
Fee: 7-day passes are available for vehicles for $35, motorcycles for $30, or pedestrians for $20. We highly recommend purchasing an annual pass for $80, which grants you access to every national park in the country. Learn more about national park entry fees.
Reservations: You don’t need reservations to enter the park or take the shuttle. Reservations are required for a permit to hike Angels Landing. Zion camping reservations are recommended.
Where to Stay: In Springdale, I’ve personally stayed in the La Quinta and the Zion Canyon Lodge. I recommend both very highly. If you’d like to stay within the park boundaries, check out the Zion Lodge. For more options, browse Expedia.
Angels Landing Hike Overview
Distance: 5.4 miles (roundtrip)
Elevation Change: 1,500 feet
Estimated Duration: 3-5 hours
Difficulty: Strenuous
Start/End: The Grotto Shuttle Stop (#6), West Rim Trailhead
Amenities: The shuttle stop has drinking water and restrooms. There are also restrooms at Scout Lookout.
When to Hike Angels Landing

The best time to hike Angels Landing is in the early morning. Zion National Park can get hot during the summer with temperatures climbing into triple digits, so plan your trip accordingly and drink plenty of water.
Going early will also help you avoid crowds and find a parking place at the visitor center where you’ll catch the Zion Shuttle.
Weekends and holidays are also extremely popular. To attempt to avoid crowds, hike the trail in the early morning of a weekday, preferably midweek.
It’s also best to avoid hiking Angels Landing in the winter. Ice accumulates on the narrow ledges making the hike extremely dangerous. Portions of the West Rim Trail may be closed depending on conditions. For a safer option, check out my guide to hiking The Narrows in the winter.
As long as you check current conditions, spring, summer, and fall can be excellent times for the trek. Spring and fall will offer the coolest temperatures.
Lastly, never hike Angels Landing in a thunderstorm. This prominent fin often sees lightning strikes and you don’t want to be caught on top in a storm. The trail is also extremely dangerous when wet or slick.
The Expert’s Experience
I hiked Angels Landing in late September. I arrived at the visitor center around 7:30 a.m., later than I had planned, and got one of the last parking spaces. Thankfully, there was no line for the shuttle.
By the time I started hiking around 8:15, other hikers were already on Walter’s Wiggles ahead of me. One hiker was already descending before I reached Refrigerator Canyon!
While I do wish I had started earlier, I do think the descent would have been equally as challenging. For me, descending on the Hogsback while other hikers are on their way to the summit is the most treacherous part of the Angels Landing hike.
On my descent, there were still way more hikers coming up than I had seen earlier in the day. So, while getting there early didn’t help me avoid as many people as I may have liked, I still got to Angels Landing before most.
Safety When Hiking Angels Landing

Angels Landing is one of the most dangerous hikes in America and one of the most popular hikes in Zion.
In all honesty, when I was climbing the narrow cliffs I thought to myself, “I can’t believe the National Park Service allows people to do this.” It’s not the most strenuous hike I’ve ever done, but it is without a doubt the scariest and most dangerous.
Several people have died on the Angels Landing hike. Don’t become a statistic.
In order to keep yourself and other hikers safe on this treacherous climb, follow these guidelines:
- Do not go beyond Scout Lookout if you have a fear of heights. Some may not wish to go that far either. There is no shame in turning around.
- This trail has become wildly popular and therefore overcrowded, which can lead to dangerous conditions. Communicate with the groups traveling alongside you. Coordinate who will travel up/down first so you won’t bump into each other. On much of the route, traffic cannot travel two ways simultaneously.
- Anyone who struggles with balancing or coordination may want to reconsider hiking this trail.
- This trail is not suitable for children (under 12 or so) or anyone who is not in good physical shape.
- Watch the weather. Do not attempt the trail if there is a chance of rain or thunderstorms. This results in slippery, unsafe conditions with the possibility of lightning strikes.
Things to Know Before You Go

Zion Canyon Shuttle: Private vehicles are not permitted on the Zion Canyon Scenic Drive. Hikers are required to take the Zion Canyon Shuttle when it is operating. The shuttle runs from March to November and during the holidays. Tickets are not required. If the shuttle is not in operation, you may drive your personal vehicle to the Grotto Picnic Area.
Permits: Zion National Park is conducting a pilot program for permits to hike Angels Landing. The system is similar to the Half Dome lottery in Yosemite. This is a pilot program, but permits are likely to be required to hike Angels Landing moving forward. This will help with crowding on the narrow spine. Permits will cost $6 per group of 6 people (and $3 for every additional person after that). Non-permit holders will still be able to hike the West Rim Trail to Scout Lookout. You can enter the lottery several months in advance or the night before you’d like to hike. Get more information.
Leave No Trace: Pack out all of your trash; there are no receptacles on the trail. Rock walls are not for carving or writing; please leave them alone. Leave behind anything interesting you may find, like rocks or flowers. Lastly, rock cairns are considered vandalism by the National Park Service and can lead to stranded, lost hikers. Please do not stack rocks.
Fun Facts About Angels Landing: Did you know the peak is called Angels Landing because Frederick Fisher, an early explorer, said, “only an angel could land on it”? Also, Walter’s Wiggles are named for Zion’s first superintendent, Walter Ruesch. He helped construct the switchbacks in 1926.
For more tips, check out my guide to visiting Zion National Park.
What to Bring On Your Angels Landing Hike
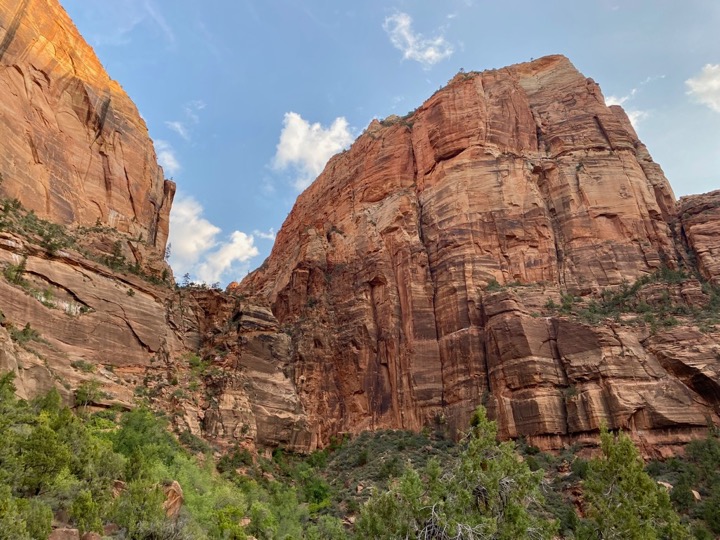
Sturdy shoes with good traction: I did the hike in trail runners, but do wish I had brought hiking boots instead. Either way, make sure your shoes have good traction so you can successfully traverse the rocks without slipping. Wear good closed-toe shoes or hiking boots.
Gloves: Thousands of people touch these chains daily. In the times of the Covid-19 pandemic, I would highly recommend wearing gloves to limit your exposure to germs. Wearing gloves will also help you gain traction on the chains, guardrails, and exposed rocks.
Trekking poles: If you can secure poles to your pack so they are out of the way while you ascend on the chains, I’d bring them with you. It’s unlikely you’ll need them on the ascent, but you’ll greatly appreciate their assistance on the steep walk down.
Water and snacks: The most important things to carry with you in the desert are water and food. I highly recommend bringing a small hydration pack. This way, your narrow pack doesn’t get in the way of your climb and you can drink water while remaining hands-free. This gives you plenty of space to grip the rocks and handrails. Snacks are also critical but beware of the aggressive chipmunks at the summit.

Sun protection: The second most important thing to have in the desert is sun protection. Wear sunscreen (at least SPF 30) and bring sunglasses or an umbrella if necessary. A wide-brimmed hat would also come in handy. The Angels Landing hike is entirely exposed with the exception of Refrigerator Canyon.
Layers: Layers are also critical, especially if you’re hiking in the morning or in the shoulder season. It’s likely that temperatures will warm up throughout the day and you’ll want to lose long-sleeves in exchange for a t-shirt. I started in a jacket and long-sleeve shirt and ended in just a hiking tee.
Camera: This unique hike deserves to be captured. Many bring a GoPro so they can hike while the experience is documented. I simply used my iPhone 11 and Canon cameras to snap pictures when it was safe to do so.
Backpack: If you choose not to bring a hydration pack, you will need a small day pack. This will help you carry snacks, water, and other necessities. My favorite backpacks are from Deuter, Osprey, and Gregory.
Optional Items: You may want to bring a map of Zion with you. Cell reception is unreliable in Zion Canyon. I’d also highly recommend purchasing a National Parks Pass in order to enter the park and save money in the long run.
Trip planning resources: There are a lot of books out there to help you plan your trip to Zion National Park. I recommend the Fodor’s Guide to Utah and the Lonely Planet Guide to Zion and Bryce Canyon. I’d also recommend purchasing this waterproof, tearproof map bundle of the Utah national parks or just the map of Zion.

Zion National Park Phone Case

Utah National Parks Map Pack: Arches, Bryce Canyon, Canyonlands, Capitol Reef, Zion

Zion National Park Pennant

Fodor’s Guide to the 63 National Parks

Zion & Bryce Canyon Hiking Guidebook

Zion National Park Puffy Blanket

Women’s National Parks Checklist T-Shirt

Women’s National Parks Checklist T-Shirt

Map of National Parks T-Shirt

Zion National Park Sticker

Zion National Park Pin

Zion National Park Patch

Zion National Park Earrings

Utah National Parks Earrings

63 National Parks Water Bottle

Guide to Hiking in Zion and Bryce Canyon

Zion National Park Candle

Zion Scrapbooking Kit

Zion National Park Cross Stitch Kit

Zion National Park Map
Detailed Description of the Angels Landing Hike
The Trailhead
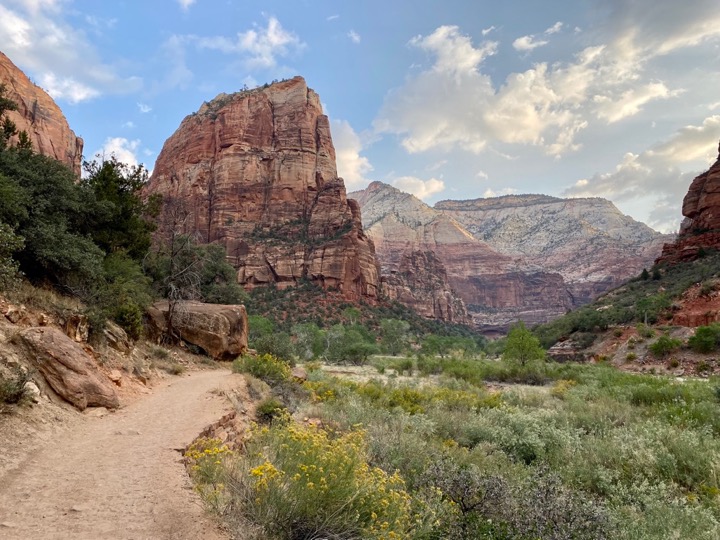
You’ll begin at the Grotto, shuttle stop #6. I highly recommend using the restroom and filling up your water before you continue.
Cross the hiker’s bridge over the Virgin River and follow the West Rim Trail on the right.
West Rim Trail

The first portion of the trail is relatively level. The sandy conditions may be difficult for some.
While you walk this portion, you can see Angels Landing looming above you. Just ahead, you may see little moving dots on the cliffside making their way up the first switchbacks. Soon, you’ll be one of them!
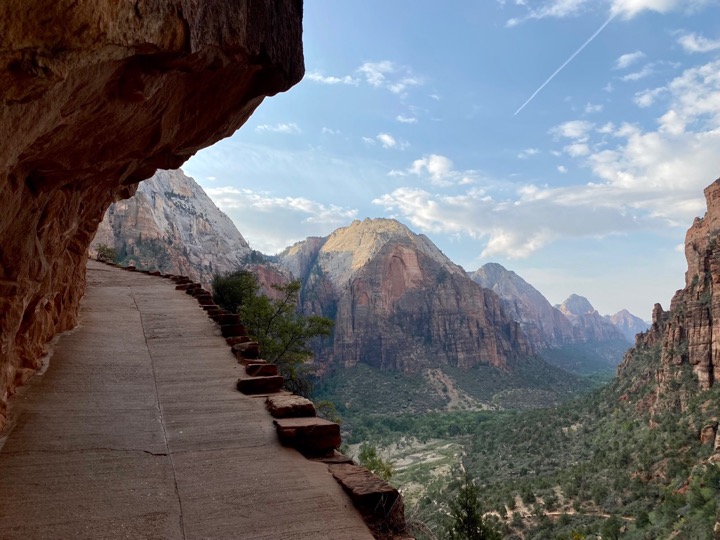
You’ll quickly come to a paved section of trail where the ascent begins. The entire trip is uphill from here. It’s also paved until you reach the Hogsback.
Refrigerator Canyon
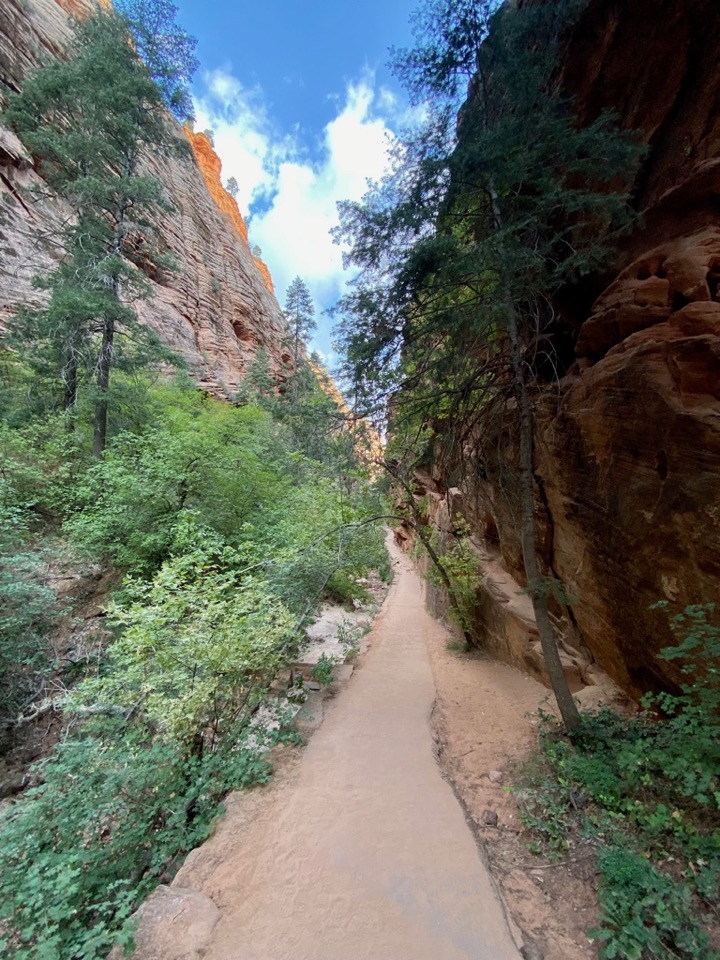
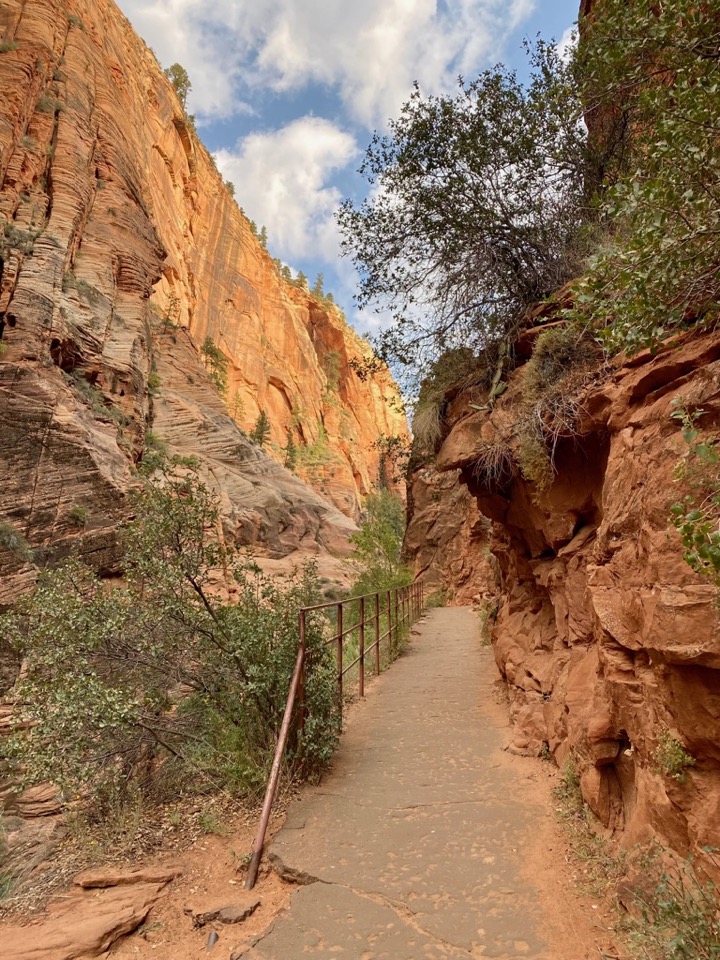
The first switchbacks are gradual as you climb the West Rim Trail to Refrigerator Canyon. Aptly named, this is the only shaded portion of the hike. It’s significantly cooler through this section, and also mostly level. It’s a nice break before you continue on switchbacks.
Try to be as quiet as possible as you hike through Refrigerator Canyon. Mexican Spotted Owls reside here and like their solitude.
Walter’s Wiggles
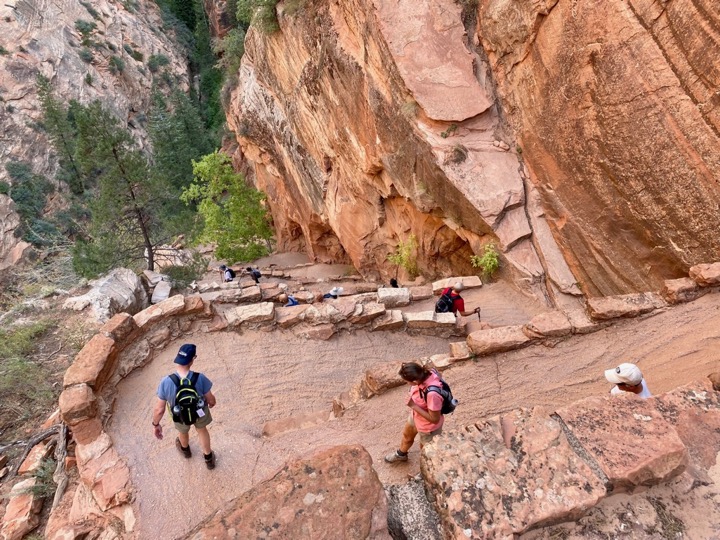
The next section of the Angels Landing hike is Walter’s Wiggles. This set of 21 switchbacks is one of the most difficult sections of the hike outside of the chains. It’s also a beautiful example of CCC engineering.
That said, I believe it’s more mentally challenging than physically. Seeing those switchbacks is daunting, but they are rather short and over sooner than you would expect.
Scout Lookout
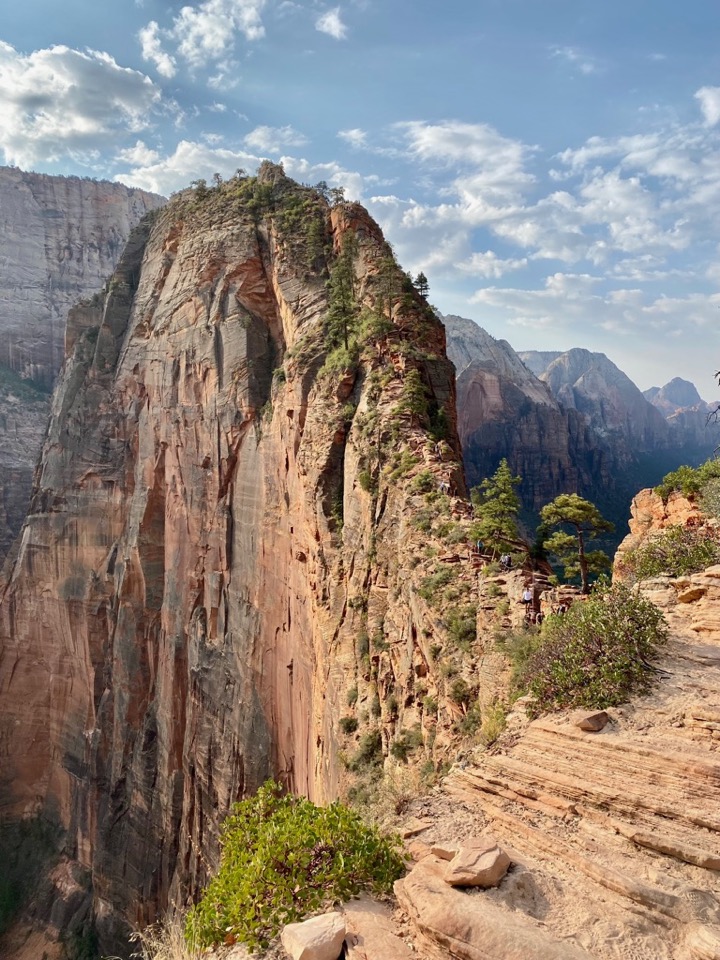
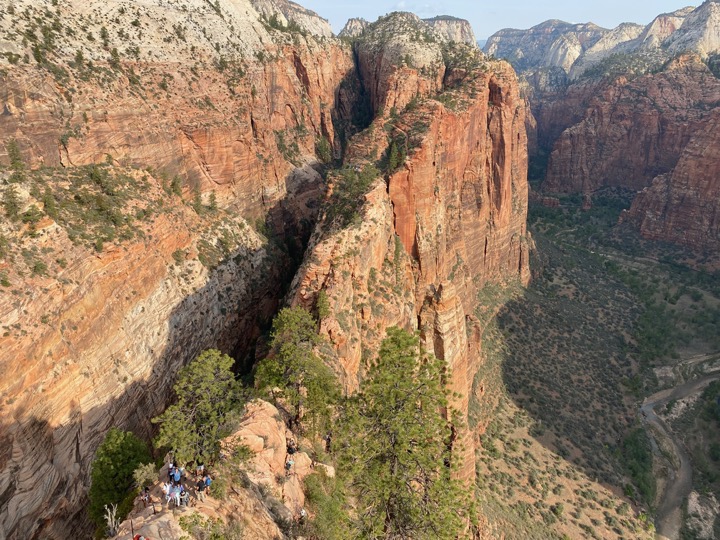
After completing Walter’s Wiggles, you’ll arrive at Scout Lookout. This is a great place for anyone afraid of heights to end their trip. Views here are also incredible and there are restrooms.
The West Rim Trail continues from here and becomes a great route for backpackers or fit day hikers. To continue hiking Angels Landing, follow signs to the right and continue up the chains. To hike West Rim Trail, follow additional switchbacks on the left. You’ll get excellent views of Angels Landing from here!
The Hogsback

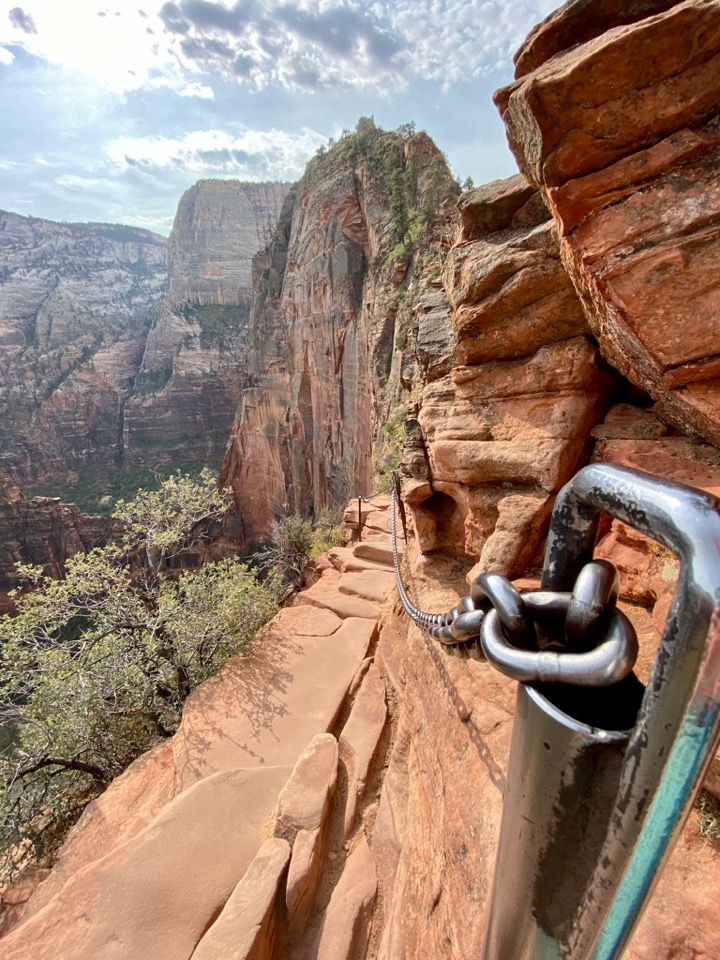
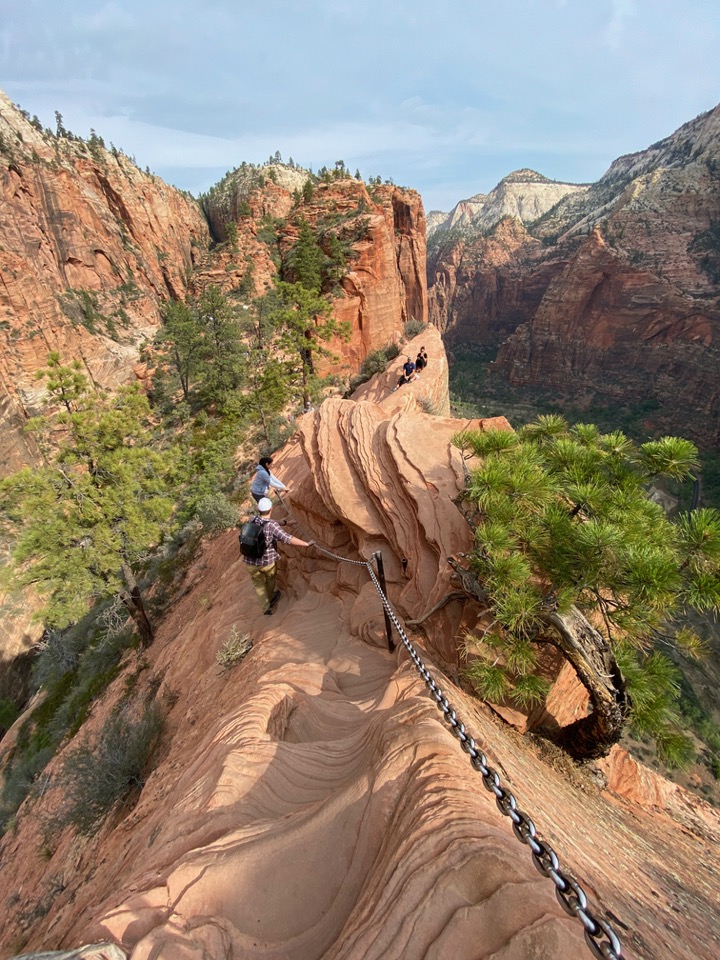
The most well-known section of the Angels Landing trail is the Hogsback. Here, chains are secured in the red rocks of a narrow fin to assist hikers in reaching the top of Angels Landing. The ledges are very narrow and holding on to the chains at all times is encouraged. That being said, sometimes there are no chains to hold on to!
This section is the most perilous, thrilling, and dangerous. Do not rush and watch your footing. Use handholds and chains when you can. When you have a safe spot to stop and wait, use it and encourage the group traveling in the opposite direction to pass you.
It’s only a 1/2-mile from Scout Lookout to the top of Angels Landing, but it took me an hour to travel each way. You’ll rise 500 feet in elevation as you make the climb.
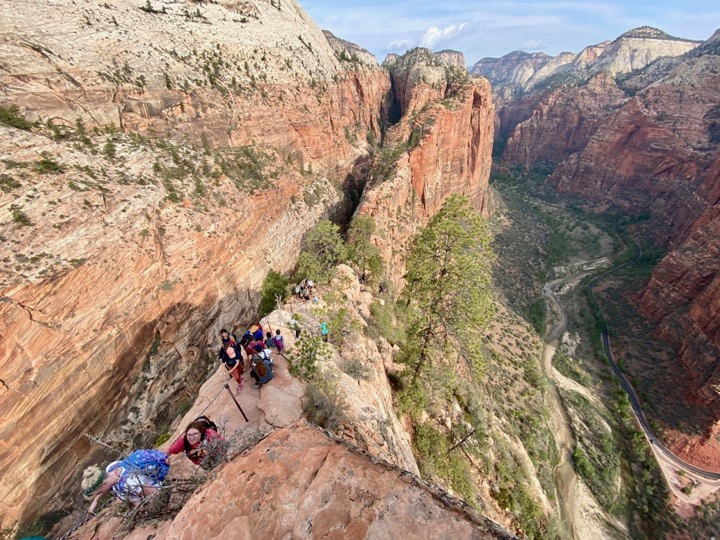
The crowds were fierce! I imagine that there weren’t nearly as many people in late September as there might be in the busier summer season.
I hiked the trail solo and quickly realized traveling with a large group was much easier. Groups could travel while other hikers waited for them to pass. When I was alone, it was much harder to convince groups of people to wait for me to pass by them.
Being with others also made me feel better since the trail was so dangerous. There was definitely safety and comfort in numbers.
In addition to chains, you’ll also find a few guard rails and carved steps to assist you. Use them wisely! In areas where no man-made assistance is present, I recommend keeping three points of contact with the rock (one hand and both of your feet).
Angels Landing
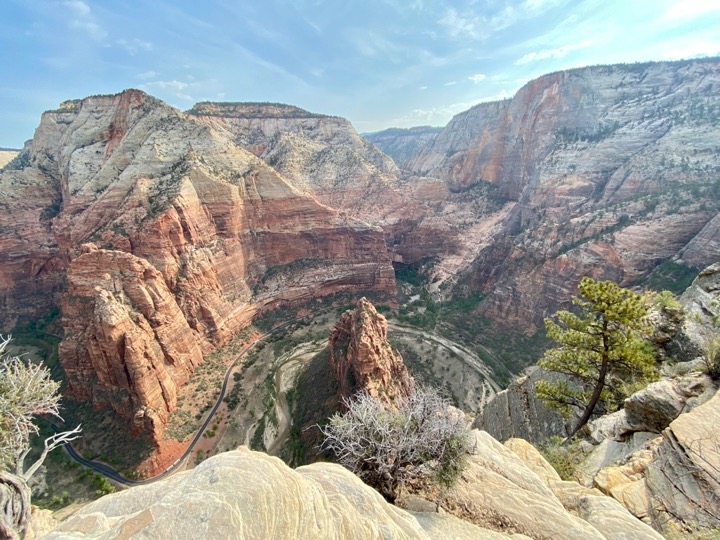
Once you reach the summit, enjoy it! Take it all in and photograph the views. It’s quite an accomplishment to summit Angels Landing and you deserve to celebrate.
If you choose to have a celebratory snack, beware of the feisty chipmunks lingering for any crumbs. Please do not feed the wildlife.
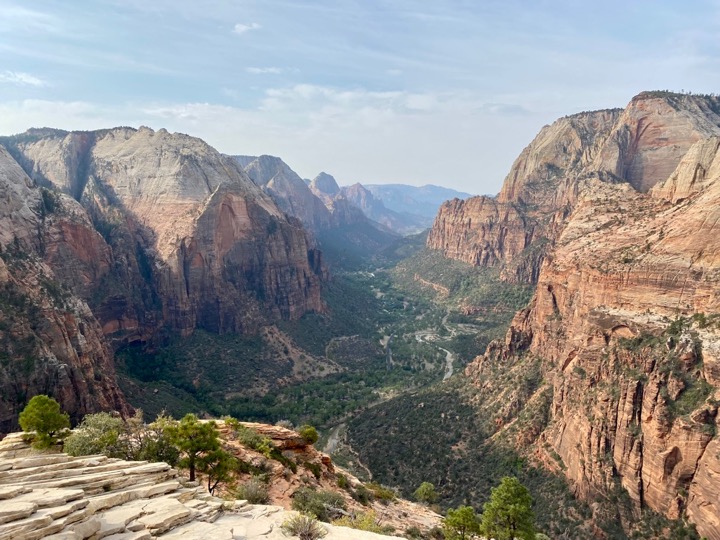
While on the summit, keep your eyes peeled for California Condors soaring below you. A family recently started nesting in Zion Canyon again. When you finish your hike, stop by the Big Bend shuttle stop to see if park rangers are there with spotting scopes and binoculars to watch the majestic birds.
The Descent
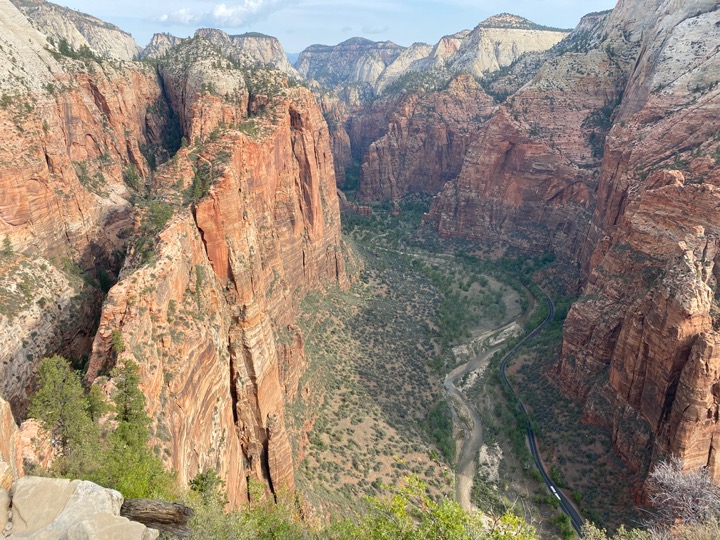
But, remember you still have to return to the canyon floor. For me, the descent was much more nerve-wracking.
Again, take your time and communicate with other hikers and groups to coordinate who will climb and who will wait.
The most difficult portion is over once you return to Scout Lookout. It was here that I finally felt relief as my anxiety washed away after traversing the spine of the Hogsback. I smiled ear to ear thinking to myself, “I can’t believe I finally conquered Angels Landing!”
Go slow on the descent. It’s very steep and you don’t want to harm your knees. The day after completing this hike, my upper thighs were extremely sore, and going downstairs or downhill was much more difficult than climbing up. This is the perfect time to utilize your trekking poles.
Final Tips for Hiking Angels Landing
1. Take the First Shuttle of the Day
Avoid crowds and take advantage of the cooler weather by beginning your Angels Landing hike as soon as possible. Check the shuttle schedule to see when the shuttle is running during your trip.
2. Take Your Time
Stay safe by not rushing your way to the summit of Angels Landing. Allow yourself about 5 hours to complete the trip, including breaks and a slow ascent/descent.
3. Don’t Be Afraid to Turn Around
There is no shame in deciding the best course of action for yourself, even if that means turning back. Scout Landing is a popular place to end your trip. You could also continue hiking the West Rim Trail for amazing views without the narrow drops.
4. Hike in the Shoulder Season
Hiking Angels Landing in the shoulder season allows for fewer people and cooler temperatures. Both of these lead to a much more enjoyable hike.
5. Check the Weather Before You Hike
Avoid hiking Angels Landing during weather events such as rain, snow, ice, or thunderstorms. Do not attempt the hike in these conditions.
Pin The Expert’s Guide to Hiking Angels Landing